Garment Shrinkage Test: 15 Practical Checks for Brands
Plan dimensional-change evaluations, understand the calculation and connect after-care evidence to sample approvals.
Table of contents
Garment shrinkage test: protect the approved fit after care
A garment shrinkage test compares defined measurements before and after an agreed care process. It helps a clothing brand understand whether a garment keeps the proportions, coverage and fit intended at sample approval. The result is useful only when the sample identity, measuring points, washing and drying conditions, number of cycles and acceptance requirements are clear.
For a hoodie, a change in body length can affect coverage while a different change in the rib can alter the silhouette. For a shirt dress, changes around the body, sleeves or placket can affect appearance and movement. Looking at one overall percentage can hide these differences. A practical evaluation considers individual dimensions alongside the complete garment’s appearance and function.
This guide from M&A Composite Ltd explains how buyers can prepare a testing brief, read dimensional-change calculations and manage sample decisions. It is a sourcing and development guide, not a substitute for a licensed test method or a laboratory procedure. Formal testing should follow the agreed current method, including its preparation, conditioning, measurement and reporting requirements.
All numerical results, acceptance examples and progress percentages below are fictional teaching examples. They are not M&A Composite Ltd laboratory results, published performance guarantees or a universal industry pass limit. Product photographs illustrate visible designs only. Use the guidance to discuss a product-specific plan with your manufacturer and a competent testing provider before releasing bulk production.
1. Separate shrinkage, growth and changes in appearance
Shrinkage describes a reduction in a measured dimension. Growth describes an increase. A garment can change differently in different directions, so record each measuring point separately. A body may become shorter while its width changes very little; another sample may become wider. These outcomes cannot be described accurately by saying the garment changed by a single percentage without explaining the dimension.
Appearance changes deserve their own observations. Side-seam movement, a wavy zipper, collar distortion or puckering around embroidery can affect acceptability even when selected measurements remain within agreed limits. Conversely, a measurable dimensional change may not be obvious in a photograph. Use both numerical records and visual review rather than treating either as a complete assessment.
Distinguish laundering results from differences already present before care. If a sample starts outside the approved measurement tolerance, a small wash change does not automatically make it an acceptable production reference. Record the original measurements against the specification and then assess the additional change after care. These are related but separate decisions that should remain visible in the report.
Avoid confusing ordinary dimensional change with every possible cause of a poor fit. Pattern shape, grading, sewing variation and measurement technique also influence the outcome. When a sample looks wrong after washing, preserve the evidence and investigate the relevant factors instead of assigning a cause from appearance alone. This approach makes corrective action more precise and easier to evaluate in the next sample.
2. Choose a fabric or garment method for the actual question
Fabric testing and garment testing answer connected questions at different stages. A fabric result can help assess material suitability before cutting, while a completed garment includes seams, panels, trims and decoration. Buyers should decide what evidence is needed at each stage rather than assuming a report for an unassembled fabric proves the final product will behave identically.
The official AATCC TM135 summary covers dimensional changes of fabrics after home laundering. The AATCC TM150 summary addresses garments. These are distinct methods; a testing provider should confirm the appropriate current edition and procedure for the article and purpose. Referencing a method name alone does not establish that its complete requirements have been followed.
AATCC’s garment-method summary also notes an applicability limitation for certain stretch fabrics. If your product contains substantial stretch or requires a specialised care route, ask the laboratory how it will establish a suitable evaluation. Do not improvise a modification and then describe the result as full compliance with an unchanged standard without explaining the difference.
Agree whether an internal wash trial is intended for development screening or whether a formal report is required for approval. Both can be useful when their purpose is clear. A quick development check may identify an obvious problem, but it should not be represented as an accredited laboratory result. Specify the evidence required before making commercial or customer-facing performance claims.
3. Define the intended care conditions before testing
Washing and drying choices are part of the test, not background details. The relevant conditions should reflect the agreed evaluation objective and proposed care instructions. Tell the testing provider what the product is intended to be used for, which market it is being developed for and what care route the brand is considering. Let the selected method govern its detailed settings.
Keep the care description consistent between samples being compared. A fabric washed under one condition and a garment dried under another cannot support a simple like-for-like comparison. If you deliberately want to compare care routes, identify them as separate test conditions and maintain separate results. This turns an ambiguous difference into a controlled development question.
Specify the number of cycles and the reporting checkpoints. A measurement after one cycle describes that checkpoint; it does not demonstrate behaviour after every future wash. Additional agreed checkpoints may help the team understand whether further change is occurring. Ask the laboratory to explain what the selected schedule can reasonably establish for the product and the approval decision.
Do not select a gentle test solely to produce an attractive result while proposing different instructions for customers. The care label, evaluation plan and product claims should be reviewed together. Where the intended care route is still uncertain, treat it as an open development decision and compare suitable alternatives before finalising labels or approving bulk packing materials.
4. Identify representative samples and material references
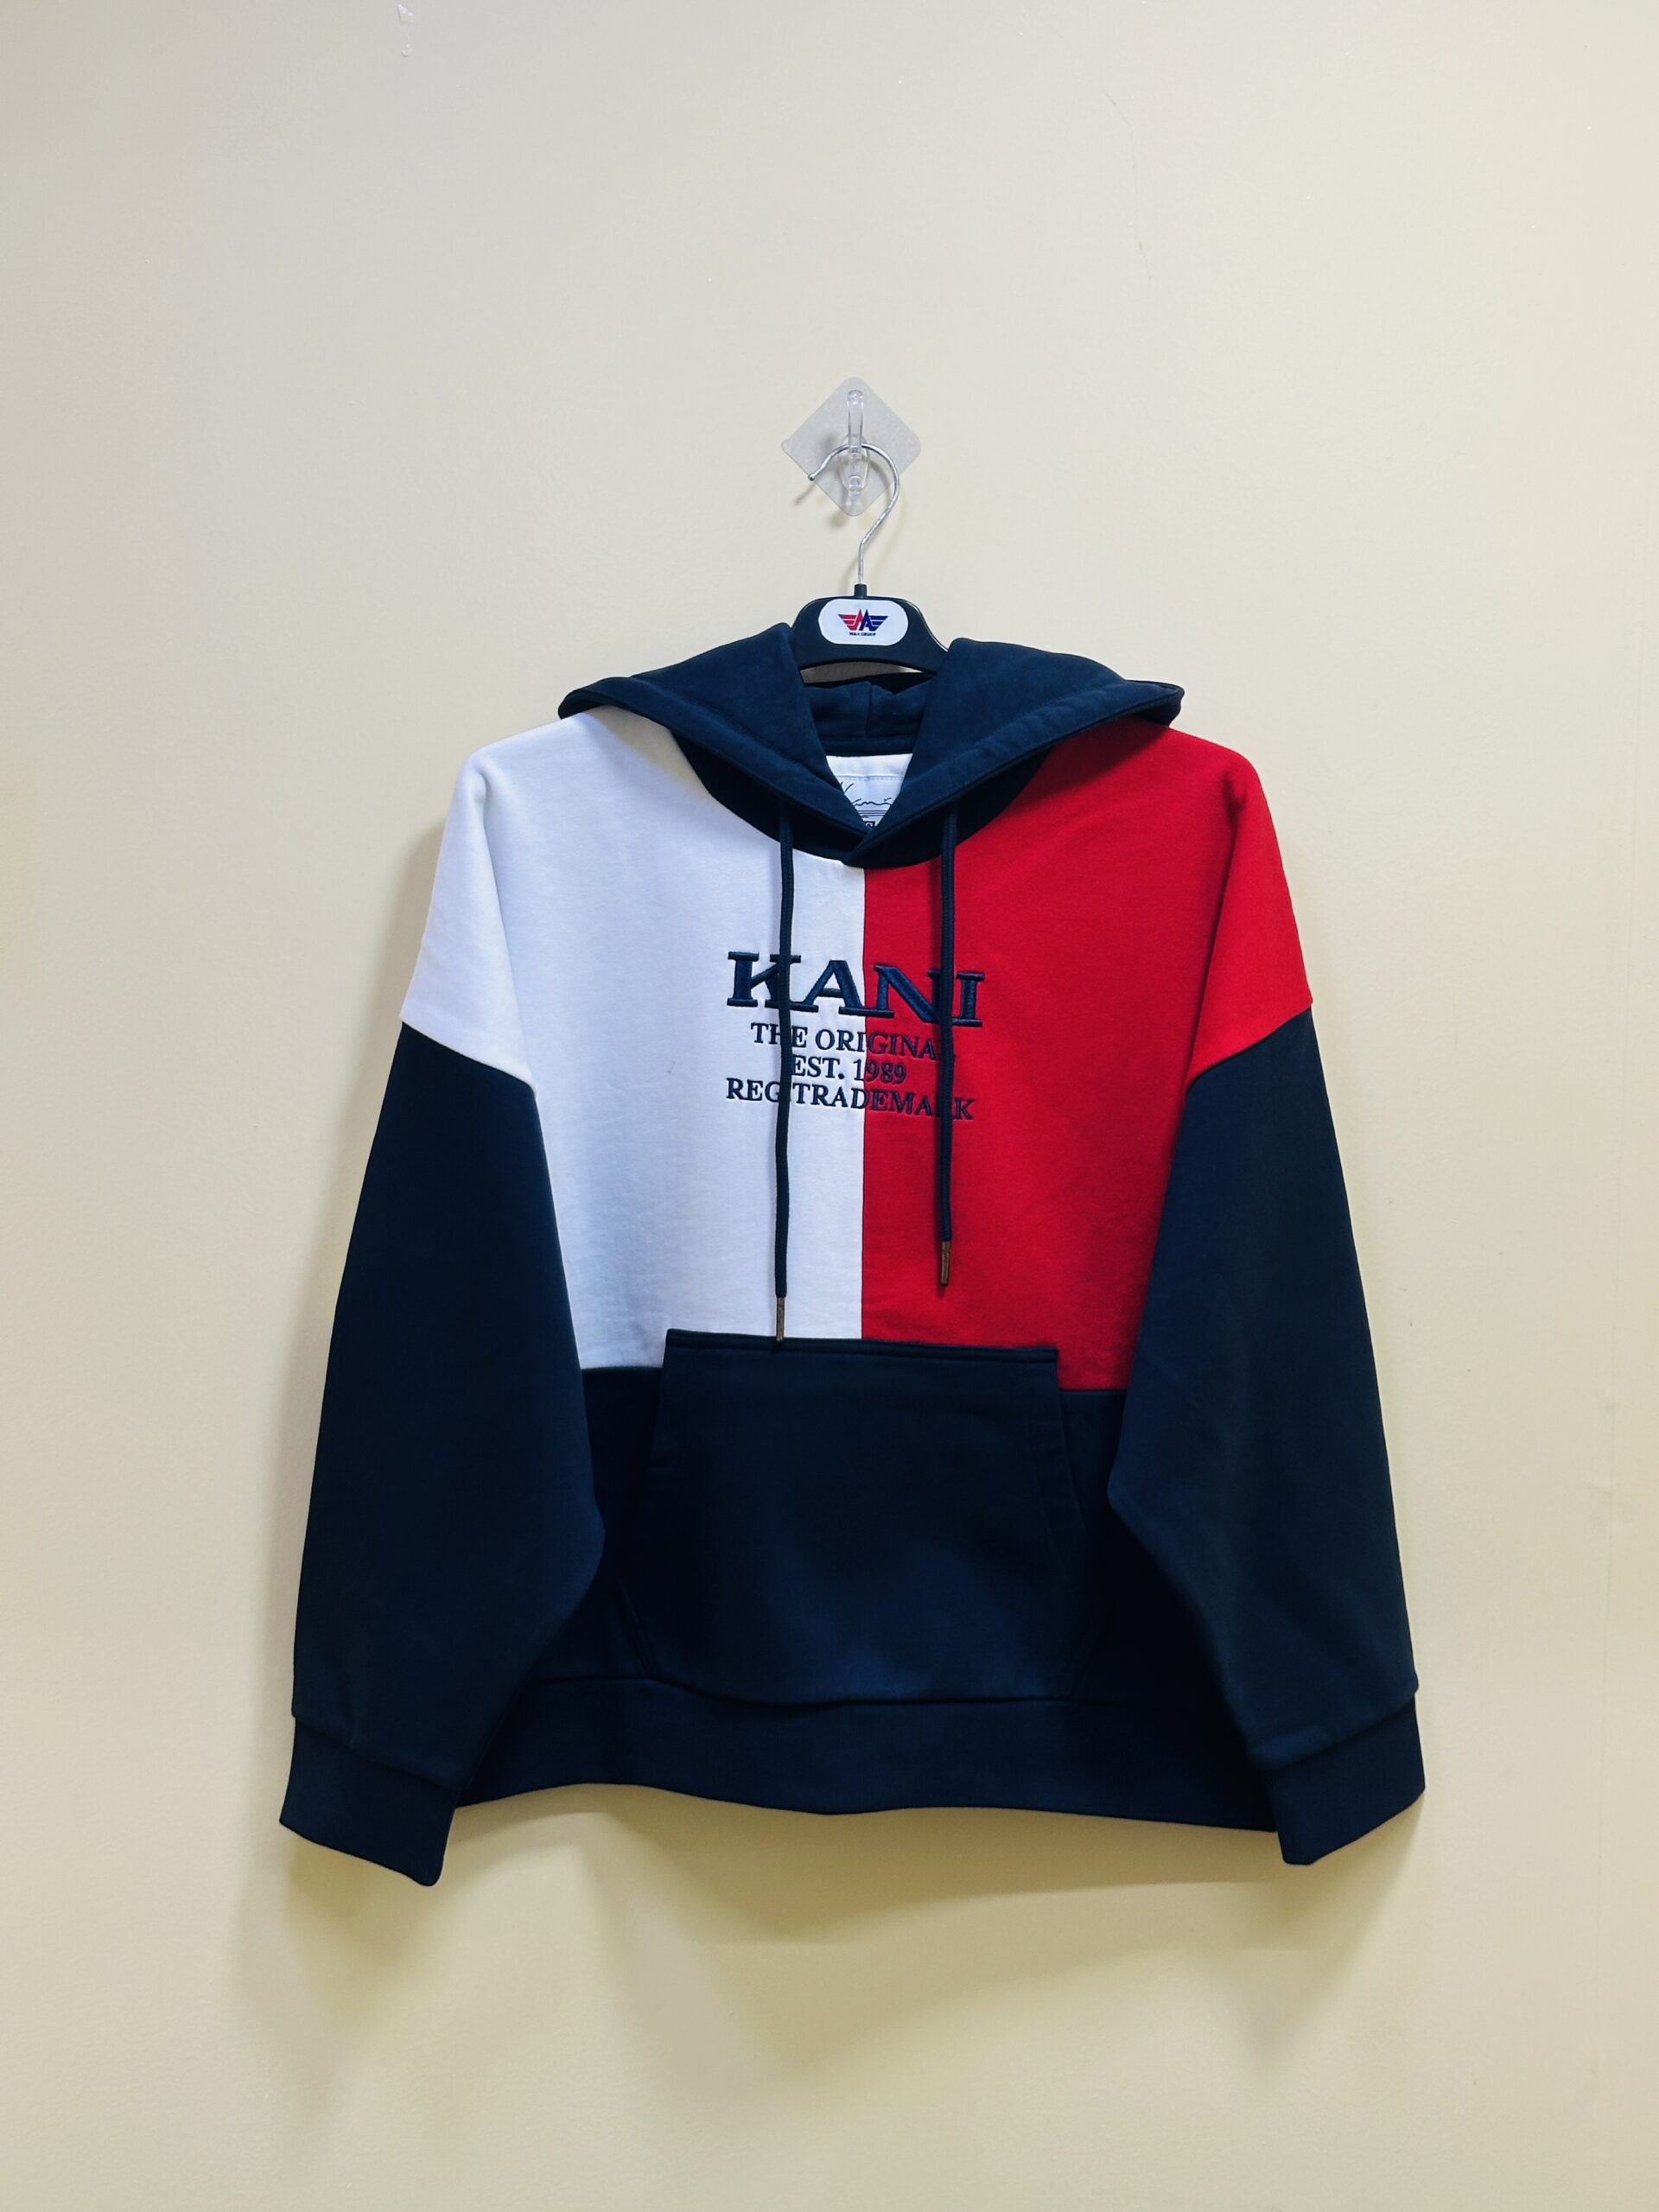
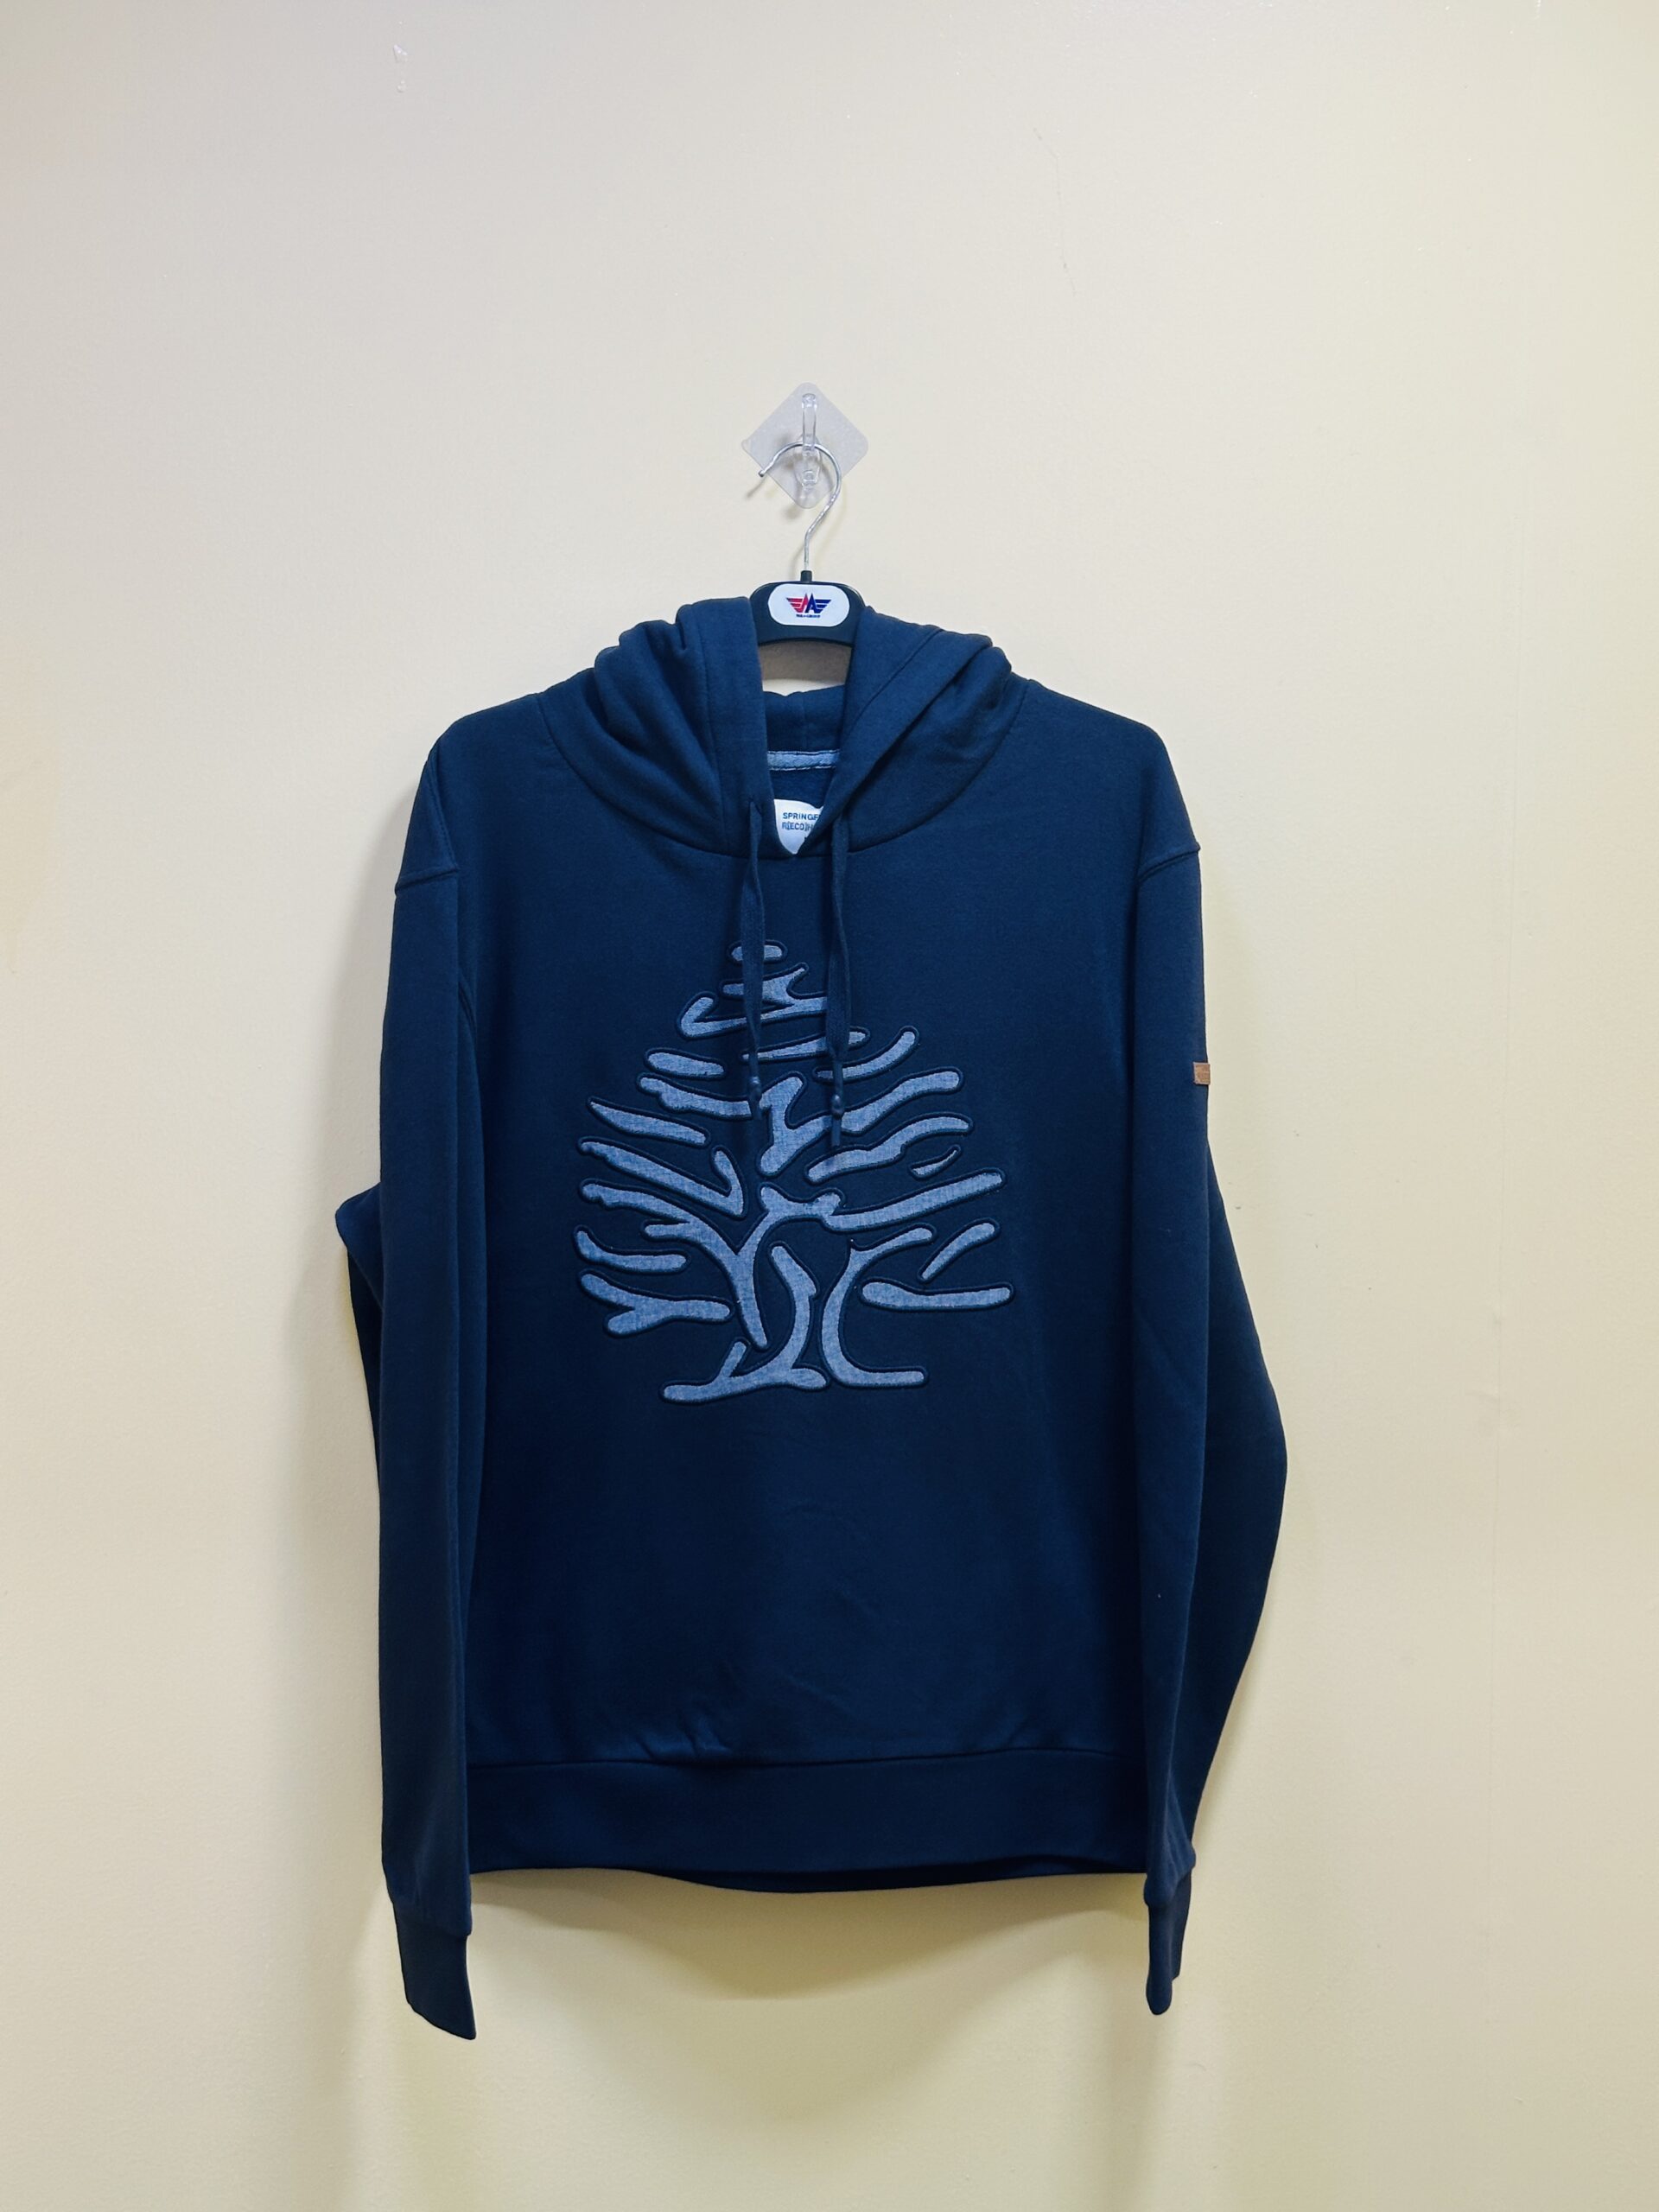
Every sample should have an identity that links it to the development record. Include the style code, size, colour, sample revision, fabric reference and relevant production or finishing information. If a hoodie has different body fabric, rib and hood lining, record those components. This makes it easier to understand what was tested and whether the evidence applies after a later change.
Discuss the sampling plan with the testing provider and buyer quality team. One selected piece cannot automatically represent every colour, size, material lot or production condition in a collection. The appropriate coverage depends on the purpose and risk of the evaluation. Document the rationale instead of implying that a single attractive sample establishes performance for an entire future order.
Where possible, retain a clearly identified untested reference for comparison, subject to the agreed method and sampling plan. It can help the team review original shape, handle and decoration when interpreting the washed sample. Keep it separate from the tested pieces and label its status so it is not accidentally measured as if it had completed the same care process.
Photograph sample identifiers alongside relevant details, but do not rely on photographs as the only record. A filename such as final hoodie can become ambiguous after several revisions. A controlled sample register connects photographs, measurements, laboratory reports and approval comments to the same physical article. That connection is especially useful when different people handle development, quality and merchandising.
5. Establish clear measurement points and a reliable baseline
Before testing, define the dimensions relevant to your product and the method being used. A garment measurement chart may include chest width, body length, sleeve length and opening measurements, but the laboratory’s formal benchmark requirements must also be followed. Do not assume a routine commercial measurement and a standardised dimensional-change benchmark are interchangeable without checking the method.
Use consistent units and clearly described measuring positions. State whether a commercial width is measured flat or as a circumference, and illustrate any point that could be interpreted differently. If two people measure from different shoulder references, an apparent change may partly reflect technique. Clear diagrams help keep the discussion focused on the garment rather than on conflicting measurement definitions.
Let the applicable procedure determine conditioning, placement and handling. Garments should not be stretched or forced into the desired dimension to improve the baseline or the result. Ask the laboratory how it handles highly elastic areas or irregular shapes. When an internal development team uses a different practical check, identify that check separately and avoid presenting it as the formal method.
Record the initial value rather than replacing it with the target specification. The target is what the garment should measure; the baseline is what the tested sample actually measured before care. Percentage change must be calculated from the recorded starting dimension. Substituting the target can produce a misleading result and conceal a sample that was already out of tolerance.
6. Calculate dimensional change with the sign explained
A useful signed calculation is: dimensional change percentage equals the after-care measurement minus the before-care measurement, divided by the before-care measurement, multiplied by one hundred. Under this convention, a negative value indicates a reduction and a positive value indicates an increase. Always explain the sign convention because some commercial worksheets report shrinkage as a positive magnitude instead.
For an illustrative measurement of 70.0 centimetres before care and 67.9 centimetres afterward, the difference is minus 2.1 centimetres. Dividing minus 2.1 by 70.0 and multiplying by one hundred gives minus 3.0 percent. The same change may be described informally as three percent shrinkage, provided the report makes clear that the dimension became smaller.
Keep the original measured values in the worksheet. A percentage alone does not show whether the starting dimension was 20 or 80 centimetres, nor does it reveal a possible unit error. When comparing reports, verify the units, calculation basis and rounding practice. Follow the selected method’s reporting requirements rather than choosing decimal places that make an unfavourable result look acceptable.
Do not add signed changes from unrelated measurements to produce an overall garment shrinkage score. A length reduction and width increase do not cancel each other in terms of fit. Review each important dimension against its agreed requirement, then assess the complete silhouette. The table below demonstrates arithmetic only and should not be used as a proposed performance specification.
Signed dimensional change formula
((After-care value − Before-care value) ÷ Before-care value) × 100
Negative = reduction; positive = growth. Use the reporting convention required by your agreed method.
| Example point | Before (cm) | After (cm) | Signed change | Interpretation |
|---|---|---|---|---|
| Body length | 70.0 | 67.9 | −3.0% | 2.1 cm reduction |
| Flat chest width | 56.0 | 55.44 | −1.0% | 0.56 cm reduction |
| Sleeve length | 64.0 | 64.64 | +1.0% | 0.64 cm growth |
| Reference dimension | 50.0 | 50.0 | 0.0% | No change in recorded values |
7. Read length and width results independently
Dimensional change can alter proportions even when the garment remains wearable. A shortened body with a relatively unchanged chest can look wider, while a reduced sleeve length can change the intended cuff position. Review the relationship between key dimensions rather than assuming a similar numerical result has the same importance everywhere on the garment.
For a shirt dress, consider the consequences for waist placement, overall coverage, sleeve position and closure alignment. For a hoodie, consider body length, sleeve length, hood proportions and the interaction between body and rib. These are practical product-review questions; the exact measurements and acceptance criteria should be agreed for the design rather than copied from an unrelated style.
Keep panel-level observations distinct from formal benchmark results. A buyer may want additional notes on a pocket or placket, but those notes should not obscure how the laboratory obtained the reported dimensional changes. Ask the report writer to identify supplementary measurements clearly. This makes later comparisons more reliable if a different laboratory or quality team reviews the same style.
A useful approval meeting asks two questions: does the product satisfy the agreed numerical requirements, and does the after-care garment still perform and look as intended? If the answers differ, document the issue and the required action. Do not quietly change the acceptance rule after viewing a result simply because the original sample looked appealing before washing.


8. Review rib, elastic, linings and closures together
A garment is an assembly of materials that may respond differently to care. A hoodie body, rib cuff, hood lining and zipper can interact in ways that a body-fabric swatch does not show. Assess the completed article where appropriate and note whether one component appears to distort adjacent panels. The observation should prompt investigation rather than an immediate assumption about which component caused it.
Look at the transition between materials. A hem may gather differently after care, a cuff may feel tighter or a zipper area may become wavy. Record the location, extent and effect on function. Photographs taken with consistent framing can support the explanation, while relevant measurements and component references provide the technical context needed for a corrective discussion.
For elastic areas, distinguish dimensional stability from stretch and recovery performance. These are related product concerns but are not identical evaluations. Ask the testing provider which methods or supplementary checks are appropriate to the question. A waistband returning poorly after extension should not be explained solely by a laundering percentage without considering how it was assessed.
When a component changes, review whether earlier evidence remains applicable. Replacing rib composition, zipper tape, interlining or elastic can affect the complete garment even when the main fabric stays the same. Update the bill of materials and decide what repeat evaluation is needed. This keeps a small sourcing substitution from becoming an undocumented change to the approved product.
9. Check decoration and appearance after the agreed care process
Decoration adds another layer to after-care review. A print may affect local handle, while embroidery can influence the appearance of a panel. Review the actual placement and production method used on the sample, not just a digital artwork preview. If the final garment will have a large chest design, an undecorated sample may leave an important development question unanswered.
Record appearance findings separately from dimensional calculations. Notes might describe puckering, edge lifting, cracking, colour changes or a visible difference in panel shape where those are observed. Avoid claiming that a dimensional-change method alone evaluates every decoration property. Agree suitable additional assessments with the provider when print durability, colourfastness or attachment performance is part of the approval requirement.
Use matching sample references when comparing decoration options. Different artwork size, stitch density, material or process can change the result. If a revision is intended to improve appearance, identify exactly what changed and keep other relevant conditions controlled where practical. Otherwise, it may be difficult to know which development decision produced the observed difference.
For brands planning decorated hoodies, our screen printing and embroidery guide provides questions about placement, material compatibility and sample approvals. Combine those design decisions with an appropriate after-care review. A garment should be assessed as the product customers will receive, including its approved fabric, components and branding.
10. Agree acceptance requirements before receiving results
There is no single percentage in this guide that makes every garment acceptable. The buyer should establish product-specific requirements with relevant technical input before testing. Intended use, fit sensitivity, care route and the approved specification all matter. A close-fitting style and an intentionally oversized style can have different practical consequences from an identical dimensional change.
Separate pre-care measurement tolerance from after-care change limits. A sample may meet a wash-change requirement while starting too short, or it may start within specification and change beyond the agreed limit. Keep both checks visible. Define how borderline results, repeat testing and differences between pieces will be handled so the decision does not depend on an improvised interpretation.
Discuss appearance and functionality requirements as well as numerical limits. A sleeve dimension might pass while a closure becomes difficult to use. Conversely, an apparently acceptable visual result does not override a failed agreed measurement requirement. Record any concession formally, with the responsible buyer’s decision and its scope, rather than treating an exception as the new standard for every later order.
Avoid writing a guarantee such as zero shrinkage without a clear basis and supporting evidence. A method, test condition, reporting resolution and sample set all shape what a result means. Product descriptions should reflect the evidence actually available. A credible supplier discussion explains the tested conditions and limitations instead of replacing them with an absolute performance promise.
11. Interpret reports without overextending the evidence
Read the report identity before focusing on the result column. Confirm the tested article, material description, date, method edition, selected conditions and any stated deviations. Check that the sample revision matches the one under consideration. An older report can provide background, but it should not automatically be treated as approval of a revised fabric, finish or garment assembly.
Ask how each result was reported and whether individual values or an aggregate are shown. Averages can be useful within the method’s rules, but they do not mean every piece has exactly the average change. If variation is important to your decision, discuss the appropriate detail and sampling plan with the provider. Do not infer production consistency from a summary number alone.
Review photographs and comments alongside the numerical findings. A report that records only a selected dimension may not address all of your commercial appearance questions. This does not necessarily make the report wrong; it may mean your original brief omitted part of the required scope. Identify that gap and request an appropriate additional evaluation rather than guessing the missing result.
Keep conclusions proportional. A passed development sample supports a defined approval decision under stated conditions. It does not demonstrate the behaviour of every future batch or every possible household care practice. AATCC’s fabric-method summary explains that standardised care procedures enable comparison while consumer practices vary. Your sourcing records should preserve that distinction when technical findings are translated into marketing or customer guidance.
12. Investigate unexpected changes before adjusting patterns
When a result is unexpected, first check the record. Confirm the sample identity, original measurements, care route, cycle count, units and calculation. A transcription error or mismatched revision can send the development team toward an unnecessary material change. Preserve the sample and the original report so the discussion starts from evidence rather than a rewritten summary.
Then review the material and production history with the relevant specialists. Ask whether the fabric, finishing, cutting, assembly or component references differed from those intended. Several factors may contribute, and the available evidence may not isolate a cause immediately. Record proposed explanations as hypotheses until a controlled comparison or other appropriate evidence supports the conclusion.
Changing the pattern can be part of development, but automatically enlarging every dimension by the same percentage may create new proportion problems. Dimensions may behave differently, and material behaviour can vary with the actual process. Have the pattern and material teams assess the proposed correction together, then evaluate a new representative sample under the agreed conditions.
Define what would count as a successful correction before repeating the work. State the changed material or construction detail, the measurements to review and the appearance criteria that remain important. Our garment sampling guide explains how clear revision comments help maintain this record. A repeat test is most useful when it answers a specific unresolved question.
13. Connect wash-test approvals to bulk production controls
A development result should lead to a controlled production reference. Record the approved fabric, finish, components, pattern revision, care route and relevant reports in the technical file. Identify which changes require review. Without that connection, a factory may produce a visually similar garment from a different material route while the buyer assumes the earlier evidence still applies.
Agree whether production-stage checks are needed and how samples will be selected. The answer depends on the order, material variation and buyer requirements. Do not imply that development testing alone guarantees bulk consistency. A quality plan can specify relevant incoming-material checks, sample reviews and escalation points so a discrepancy is discovered while corrective options remain available.
If a bulk material or component differs, document the proposed substitution and assess the effect before release. Update the sample and testing plan where necessary. A quick verbal approval can be difficult to trace later, especially when a garment uses several suppliers. Written references help merchandising, production and inspection teams understand what has actually been authorised.
Use our hoodie quality control checklist alongside the dimensional-change record for hoodie projects. The two serve different purposes: one supports a broader product review, while the test evidence addresses defined behaviour under care. Combining them in an organised approval file helps avoid treating a single report as the complete quality system.
14. Keep a test worksheet and approval roadmap
A worksheet should make the decision easy to trace. Include the sample code, garment revision, material references, measuring points, before and after values, units, signed changes, test conditions and report reference. Add the agreed requirement and the resulting decision in separate fields. This keeps a proposed target from being confused with an observed measurement or an approved concession.
Assign an owner to each unresolved issue. A sample may be waiting for a laboratory clarification, a material revision or a buyer’s fit review. State the next action and the evidence needed to close it. A progress percentage is less useful than a clear dependency if the production team does not know what is still preventing release.
The illustrative roadmap below shows a possible sequence of development decisions. It does not report a real order’s progress, a laboratory completion rate or a company performance score. For a live project, replace the illustration with dated milestones and named owners in your order records. Do not interpret the final bar as permission to ship without the required commercial and quality approvals.
Maintain the final worksheet with the technical pack and approved samples. When a repeat order begins, review whether any material, artwork, supplier or care instruction has changed. Our apparel tech pack guide can help structure those records. A concise, complete file is easier to use than a long message history containing several conflicting versions of the same measurement chart.
| Record | Information needed | Why it matters |
|---|---|---|
| Sample identity | Style, size, colour, revision and material references | Connects evidence to the article |
| Baseline | Actual initial measurements and units | Preserves the calculation basis |
| Care conditions | Method, edition, selected procedure and cycles | Allows meaningful interpretation |
| Results | After-care values and individual changes | Shows direction and magnitude |
| Appearance | Documented observations and photographs | Separates visual issues from dimensional results |
| Approval | Agreed requirements, decision, owner and date | Makes the next action traceable |
Illustrative test approval roadmap
Sequence illustration only; these bars do not show any live order or laboratory status.
15. Plan product-specific checks with M&A Composite Ltd
For a custom garment enquiry, share the design, intended fit, fabric direction, size range, branding, quantity breakdown and target care instructions. Explain whether your team already has a testing protocol or needs help coordinating the questions for a testing provider. State which reports and approvals must be available before production so their timing can be included in the development plan.
A hoodie project may need coordinated review of the body, rib, hood lining, decoration and closures. A woven shirt-dress project may require attention to silhouette, placket alignment and component compatibility. These examples illustrate why a complete garment brief is more useful than requesting a generic shrinkage guarantee. Confirm the actual evaluation scope and technical responsibilities for your product.
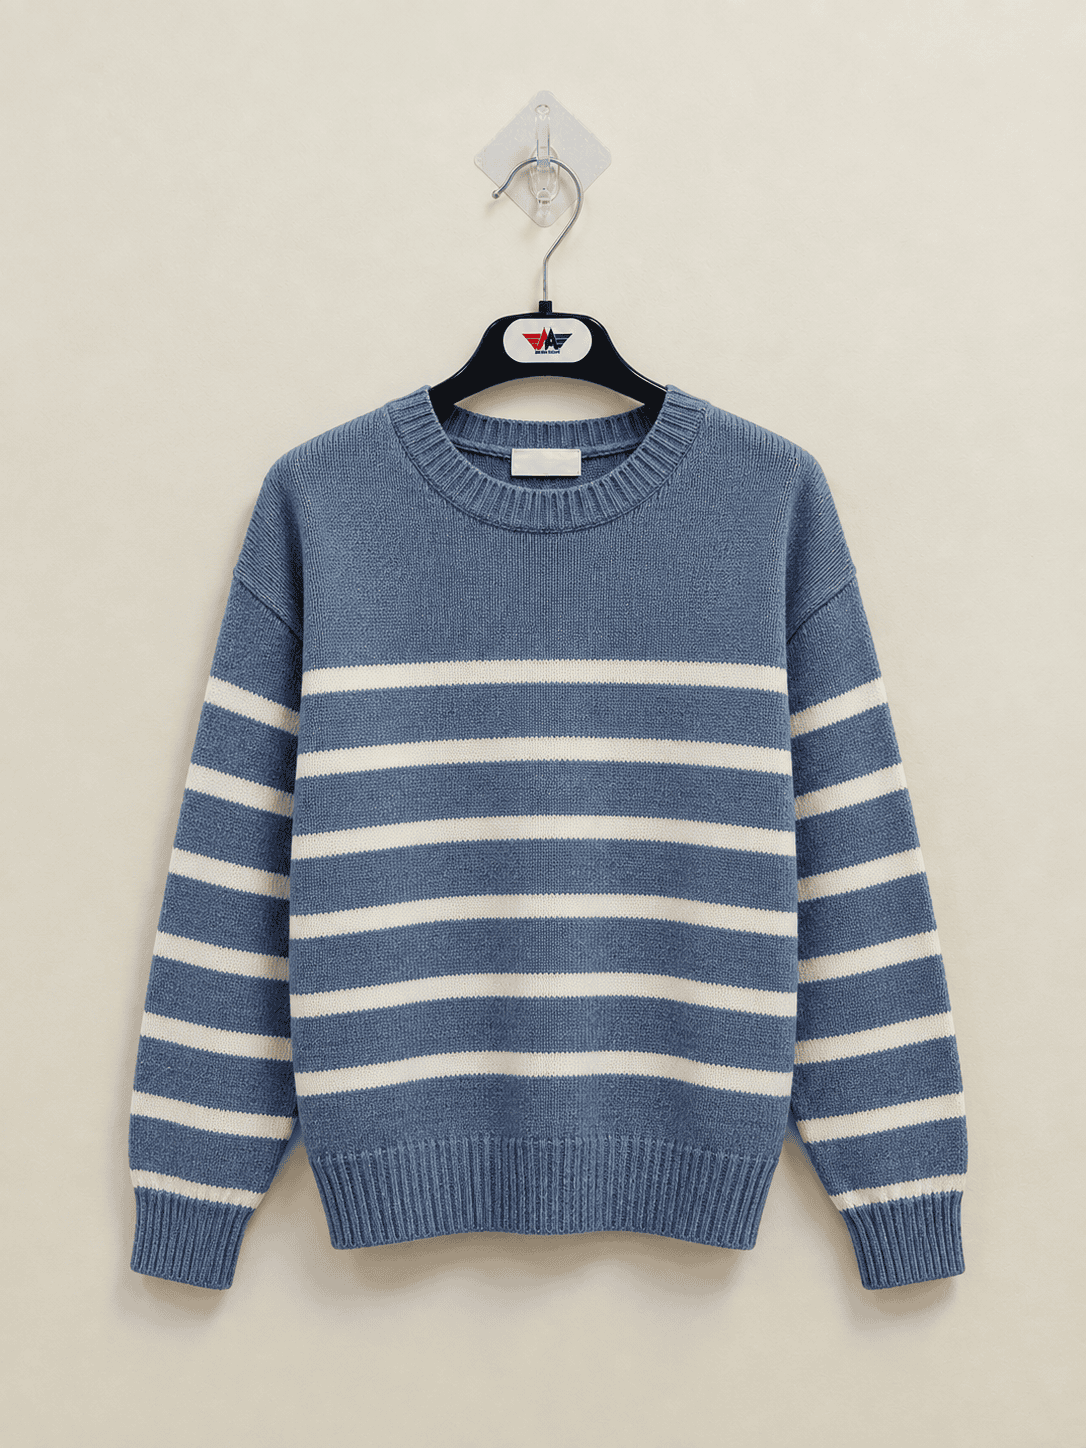
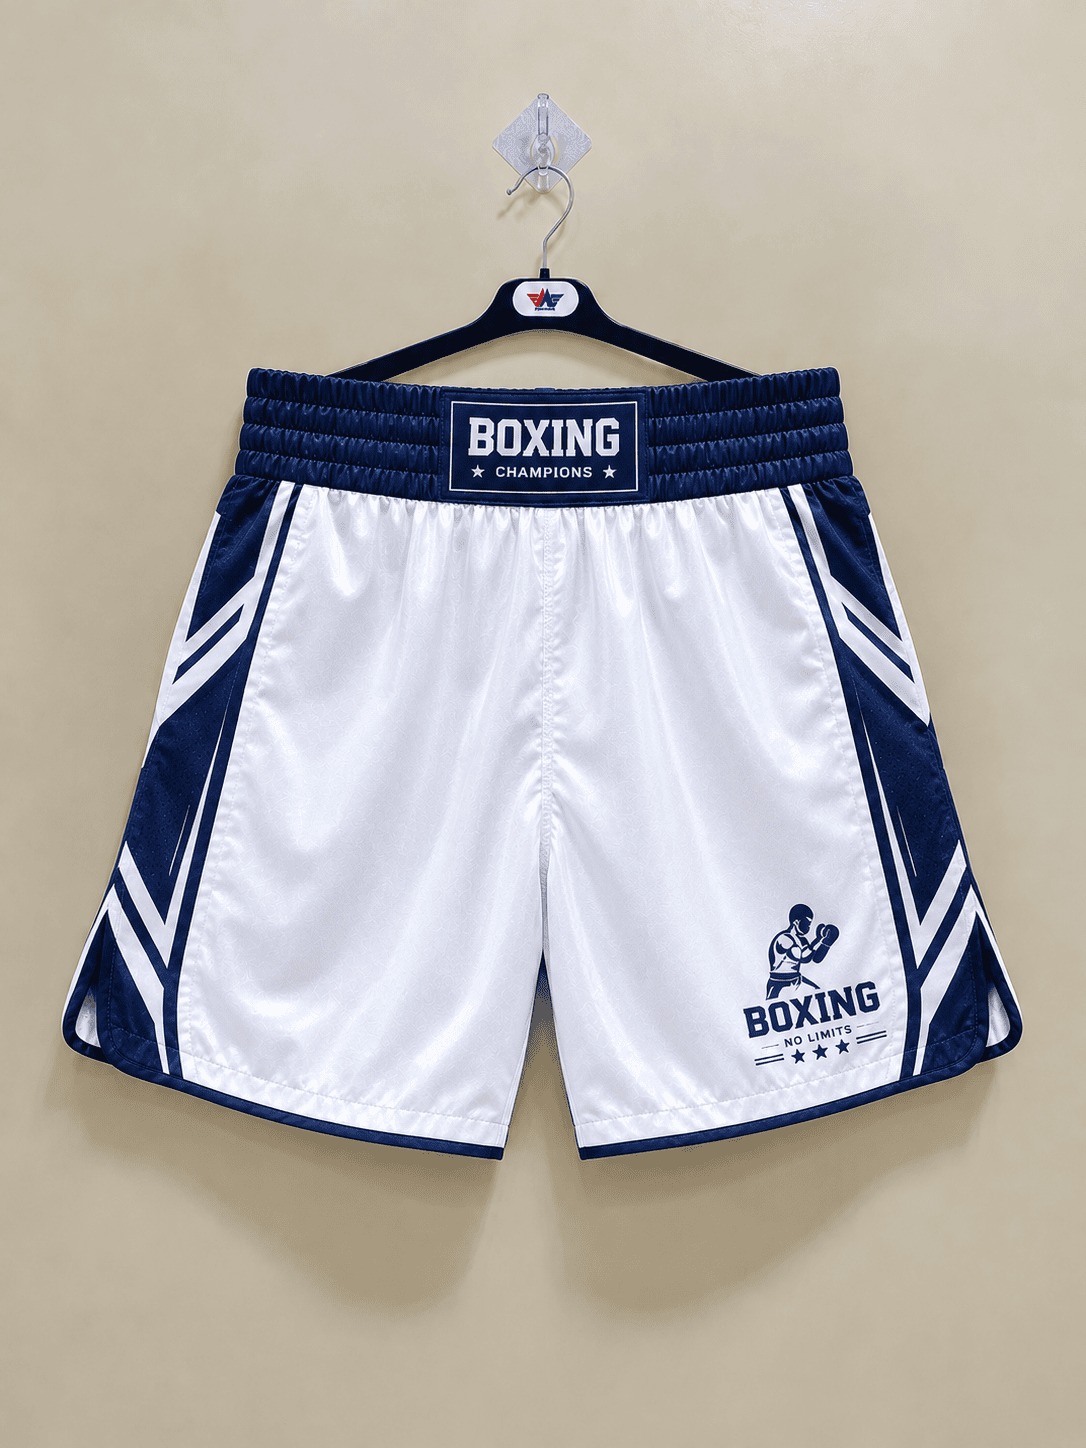
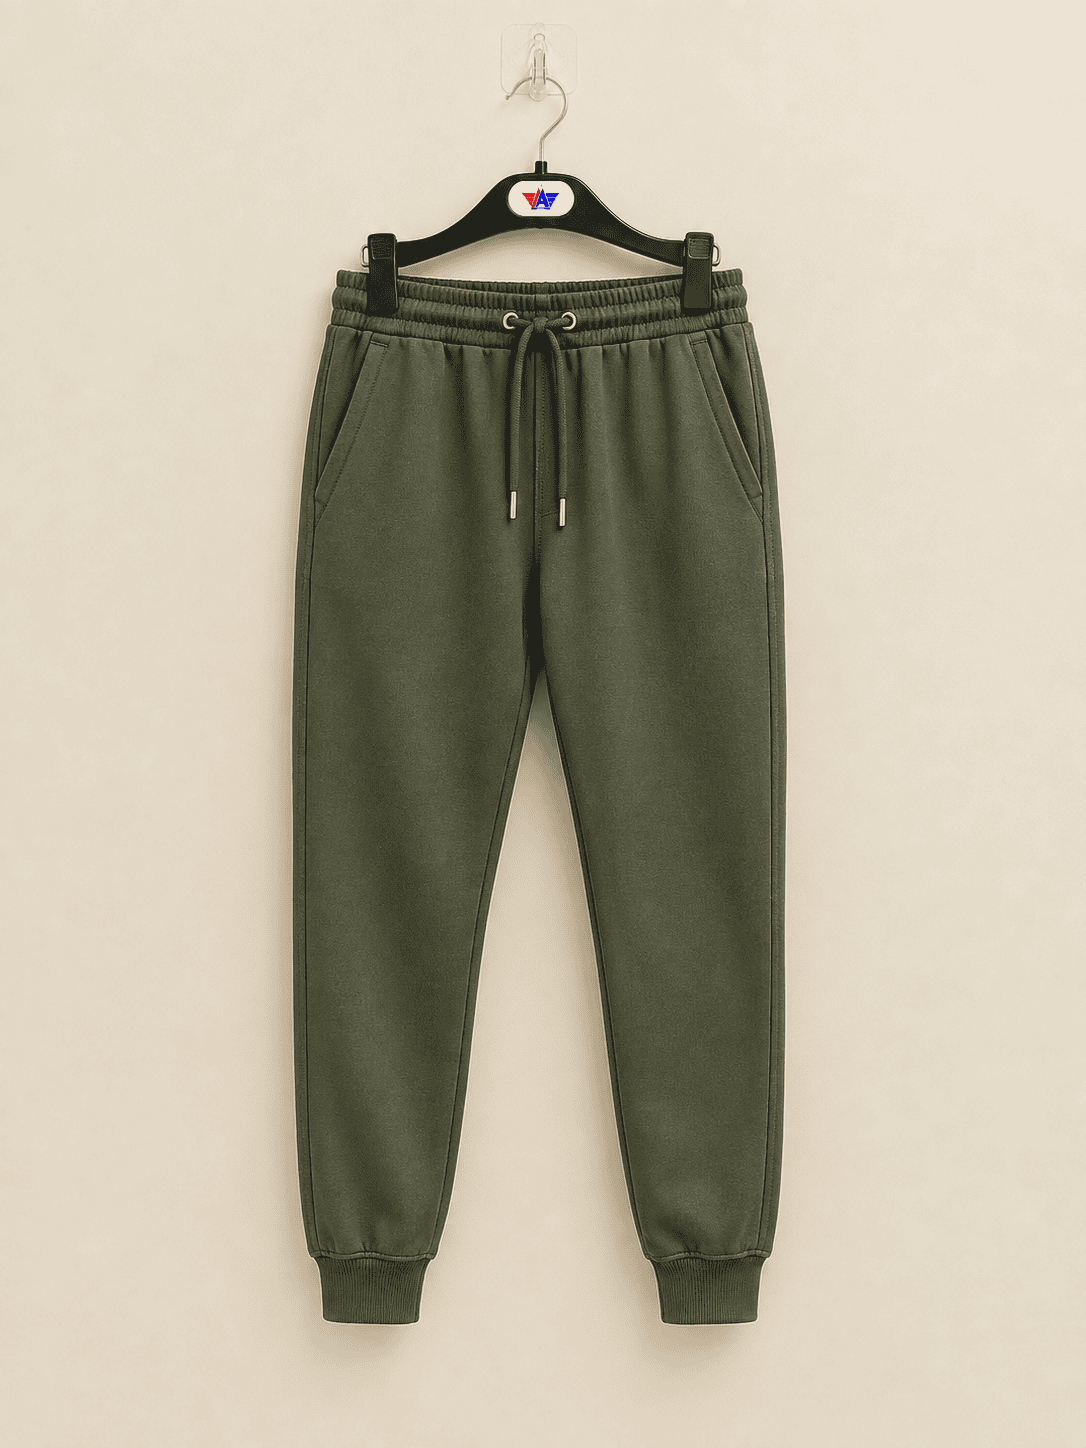
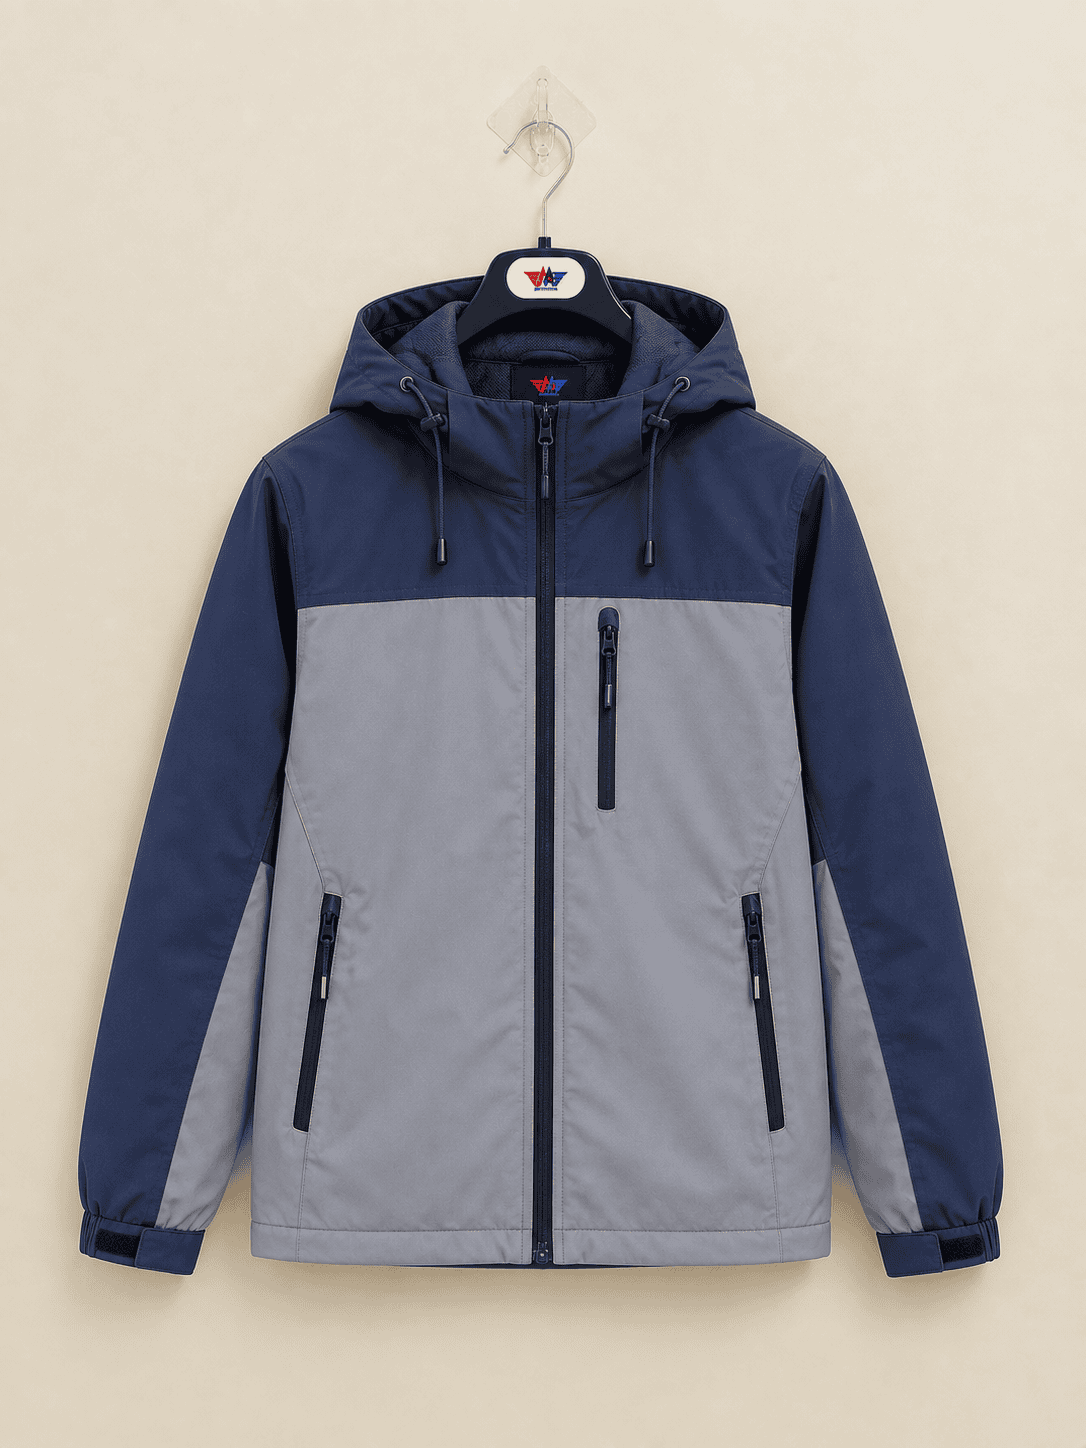
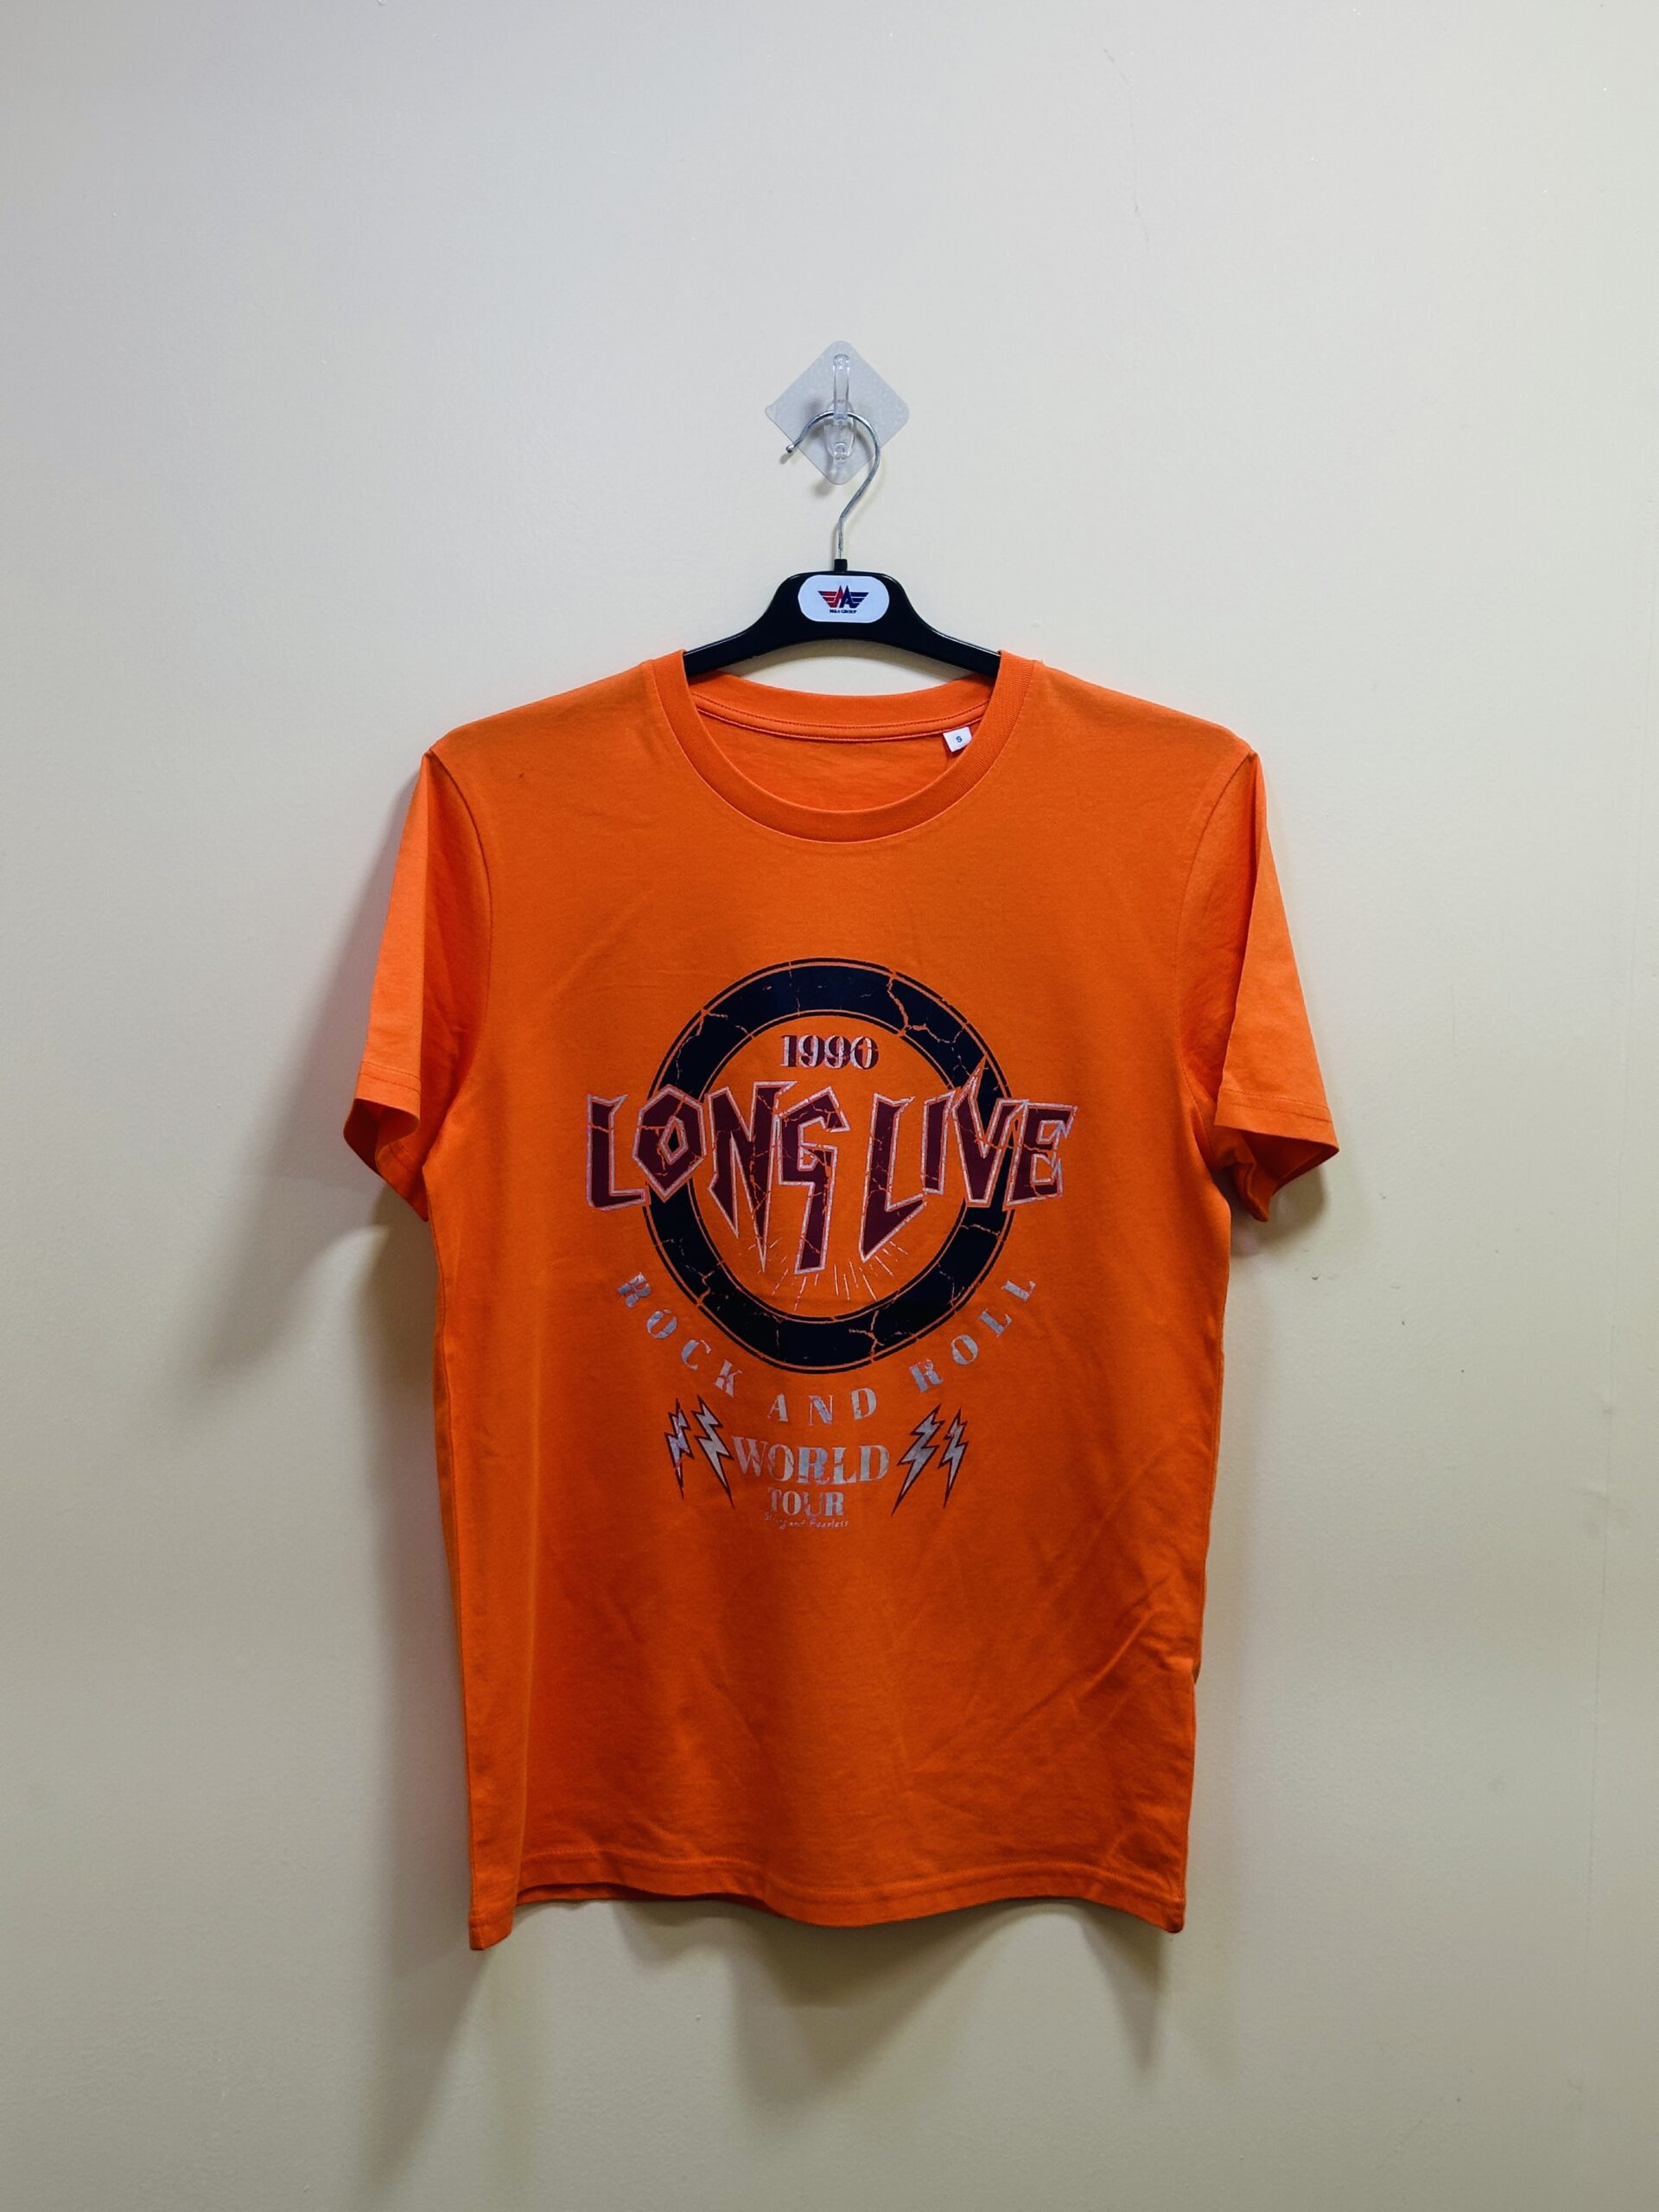
M&A Composite Ltd’s manufacturer profile and product pages can introduce the categories available for discussion. Photographs in this article link to related product pages; they do not establish a tested composition, laundering result or laboratory capability. Request a written product-specific proposal and relevant evidence rather than inferring performance from an image or a category description.
Use the contact page to discuss your collection and approval requirements. The practical goal is a shared record of what will be evaluated, under which conditions and against which requirements. That record helps the buyer and manufacturer make informed sample decisions and preserve the intended fit as the garment moves toward bulk production.
Frequently asked questions
What is a garment shrinkage test?
It compares defined garment measurements before and after an agreed care process. The report should identify the sample, method, conditions, cycle count and calculation basis. Review individual dimensions and relevant appearance findings against requirements established for the product before testing begins.
How do I calculate shrinkage percentage?
Using a signed convention, calculate after-care measurement minus before-care measurement, divide by the before-care value and multiply by 100. A negative result indicates a reduction. For example, 70.0 cm changing to 67.9 cm gives minus 3.0 percent, described as three percent shrinkage.
What is an acceptable garment shrinkage percentage?
There is no universal pass limit supplied by this guide. The buyer should agree product-specific requirements with appropriate technical input. Define the relevant measurements, care conditions and appearance requirements before testing, and keep after-care change limits separate from pre-care garment measurement tolerances.
Does a fabric test replace a finished garment test?
Not automatically. A completed garment includes seams, components, decoration and interactions that an unassembled fabric does not represent. Decide what evidence is needed at each stage and ask the testing provider to recommend the appropriate current method and sample plan for the approval question.
What is the difference between AATCC TM135 and TM150?
AATCC describes TM135 as addressing dimensional changes of fabrics after home laundering and TM150 as addressing garments. Use the current complete method through a competent provider. The official TM150 summary notes that it may not apply to certain stretch fabrics, so applicability needs review.
Can a garment shrink in length and grow in width?
Different dimensions can change differently. Report each important measurement separately using a clear sign convention. Do not cancel a length reduction against a width increase to create an overall score, because those changes can affect silhouette and fit in different ways.
Does pre-shrunk mean a garment will never change?
Do not interpret a descriptive term as a guarantee of zero future dimensional change. Request the relevant material and process information plus test evidence under the agreed care conditions. Assess the completed product and keep customer-facing claims proportional to what the evidence actually demonstrates.
Should decorated garments be checked after washing?
Where relevant, evaluate the representative decorated product under the agreed care process and review its appearance. A dimensional-change test does not automatically cover every print, embroidery or attachment property. Agree any additional performance checks with the testing provider and identify the artwork and process used.
How many wash cycles should a test use?
The required cycles and reporting checkpoints depend on the selected method and buyer protocol. Agree them before testing. A result after one checkpoint does not establish behaviour after every future wash, and results from different care routes should not be compared as if their conditions were identical.
How can I discuss testing for a custom garment order?
Send M&A Composite Ltd your designs, material references, size range, intended care instructions and required approval protocol through the contact page. Ask for a product-specific development plan, clarify testing responsibilities and confirm what evidence is needed before releasing bulk production.
Plan your garment development enquiry
Share your product brief, material direction, size range and care requirements to discuss an appropriate sample approval plan.
Contact M&A Composite Ltd