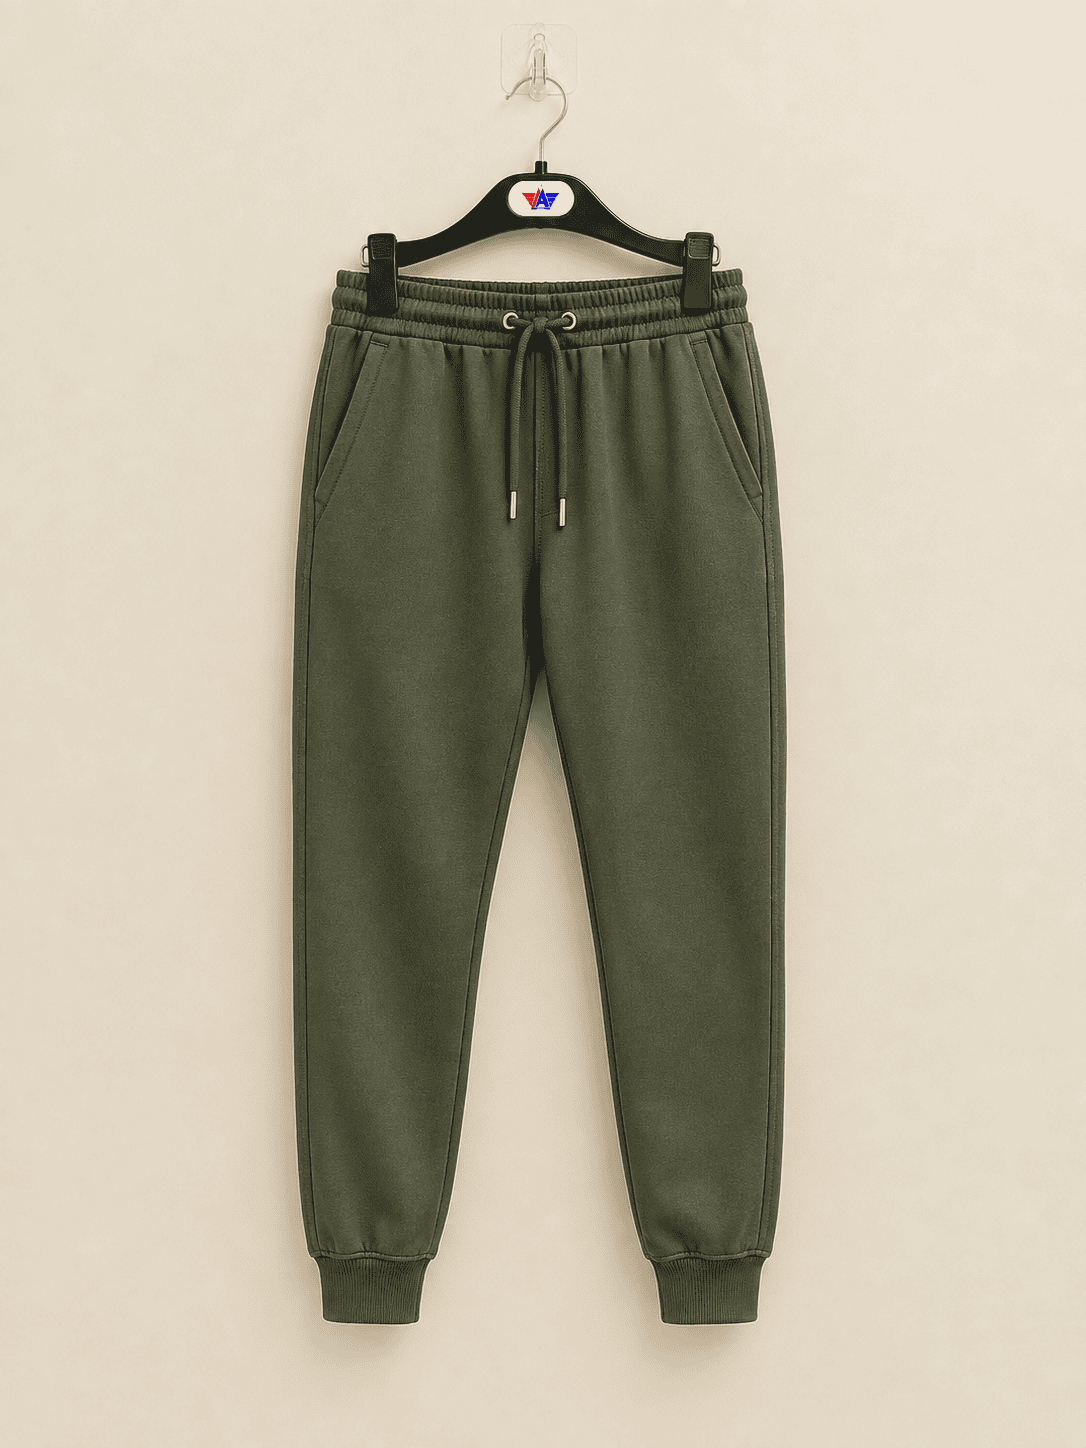
Buying joggers for men in bulk starts with a choice about fit and use. This guide helps apparel brands compare materials, specify a size range, test production samples and review quotes for men’s jogger collections.
Define the customer and the reason to buy
Joggers for men can be sold as everyday clothing, warm-up apparel, travel trousers or part of a coordinated streetwear set. Each use changes what the garment needs to do. A customer who wears joggers on a long flight may care more about a comfortable waistband while seated and a pocket that keeps a phone secure. A customer buying a gym warm-up layer may want enough room to move over shorts, a cuff that clears a trainer and fabric that feels comfortable before and after exercise. Start with the use case you expect to drive repeat purchases.
Write a short fit brief before opening a fabric catalogue. Describe where the waist should sit, what footwear the product should work with, how the leg should look when empty and whether the wearer will carry anything in the pockets. Identify an existing garment whose fit your team understands. Record which features should carry over and which should change. A retail fit description such as “relaxed through the thigh with a tapered ankle” gives the pattern team more direction when it is paired with a reference sample, a few measurements and a clear wearing position.
Plan the role of each style in the assortment. One everyday jogger may need core colors and a dependable fit across replenishment orders. A fashion jogger may earn its place through a wider leg, a washed finish or a visible seam detail. A coordinated tracksuit may depend on whether the top and bottom match in shade and appearance when worn together. Decide where two styles genuinely serve different customers. If the same customer would buy either style for the same occasion, the difference should be visible in the fit, fabric or features before you commit to two sets of stock.
A first enquiry should include the target use, expected size range, approximate quantity by color and the parts of the brief that are open to development. If the buyer can supply a reference garment, explain which size it represents and whether it has been worn or washed. Those details help the supplier interpret what it measures and whether the dimensions describe a new garment or a garment that has already relaxed through use.
Explore the Joggers product collection for category examples.
Choose a fit block and control the taper
A slim tapered jogger usually needs careful balance between room at the hip and thigh and a narrower opening at the ankle. If the calf is tight, the hem may stay raised after the wearer sits or climbs stairs. Increasing only the cuff opening may make the garment easier to put on while leaving the lower leg too restrictive. Start with the intended outline from the side, then check where the taper begins and how it changes from the knee to the hem.
A regular tapered block can accommodate a wider range of everyday use when the pattern gives adequate room at the seat and upper leg. The shape should still look intentional around the knee. If excess cloth gathers behind it, compare the balance of the front and back leg and examine the placement of the knee point. A larger leg width can be appropriate for the brief, but it should be reviewed together with rise and length. A garment that hangs well when standing can reveal excess folds or restriction when the wearer bends.
A relaxed jogger may use a fuller thigh, less aggressive taper or a wide straight leg with an adjustable hem. On these styles, the fabric’s drape makes a visible difference. A soft knit can fall into vertical folds, while a stiffer fabric of similar weight may hold a much wider shape. Compare the garment with the intended shoes. A long, wide leg can catch at the heel or bunch around a high shoe. A shorter hem can look deliberate with one type of footwear and unexpectedly cropped with another.
Evaluate the front, back and side at a consistent camera height and distance. Have the model stand, walk, sit and take a step up. Compare where the side seam sits and whether it twists forward or back as the model moves. Keep the waist in its intended position for each round of photos. Otherwise, changes in where the model wears the garment can be mistaken for changes to rise, inseam or taper.
Separate fit comments from construction comments when giving sample feedback. “Add room across the upper thigh for stair climbing” identifies a wearing problem. “Change the leg seam finish” identifies a construction decision. Make one major pattern change at a time where possible. That makes it easier to judge whether the new sample solved the problem and whether the rest of the silhouette still matches the brief.
Compare French terry, fleece and stretch woven
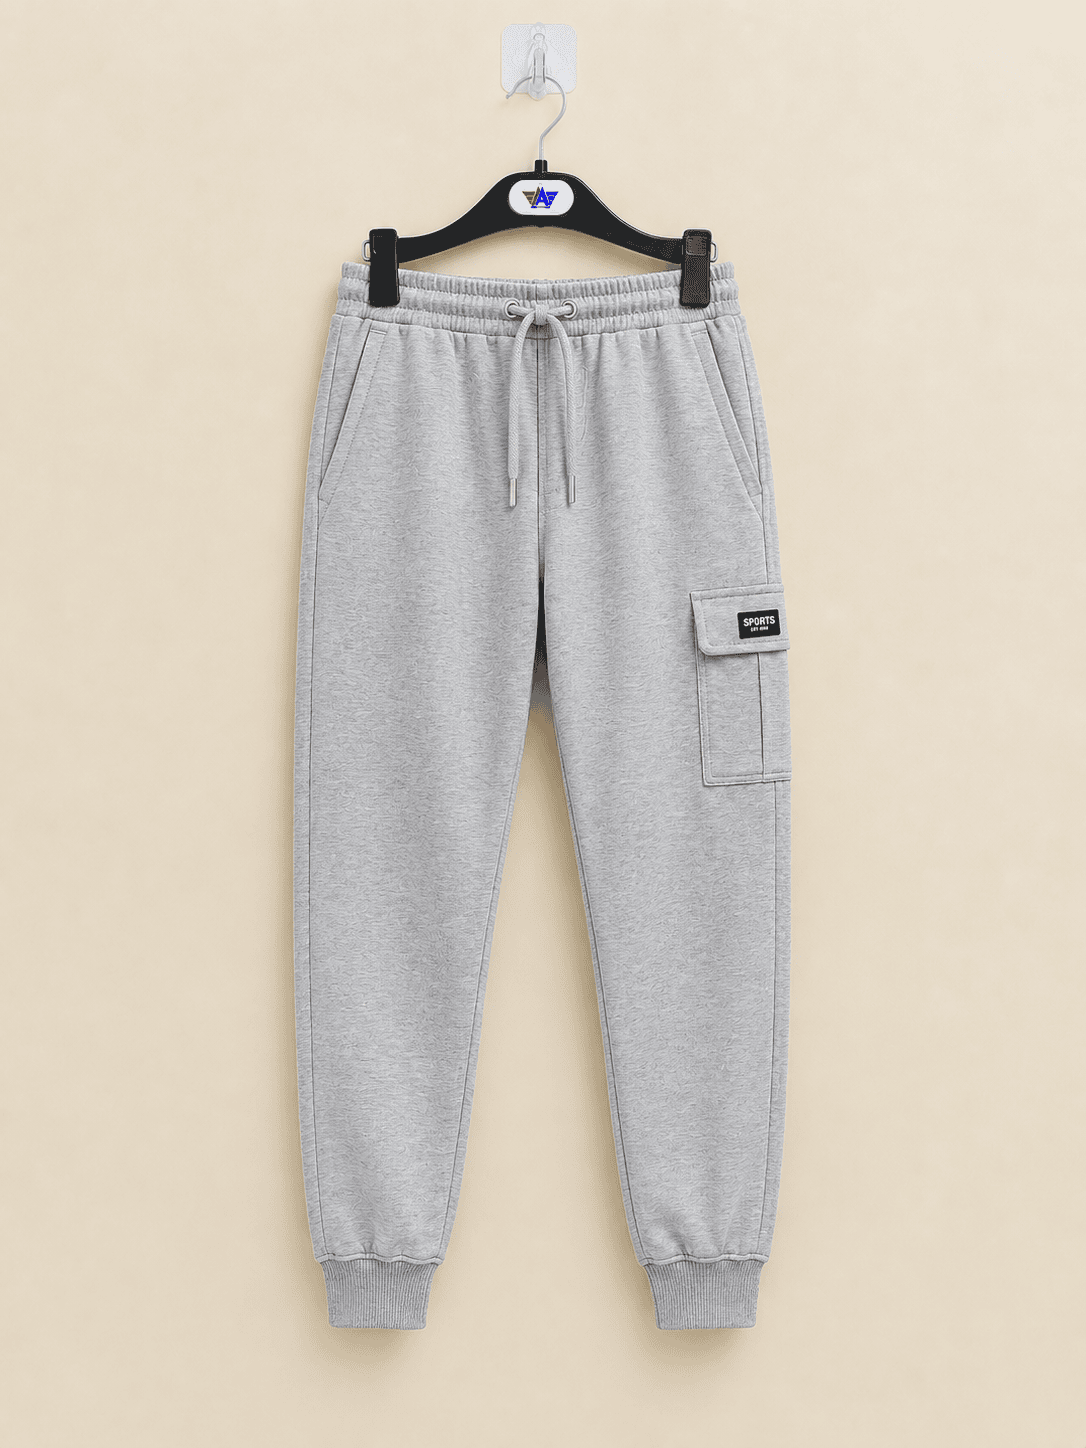
French terry has a looped reverse and can suit joggers intended for everyday wear or a lightweight coordinated set. Ask to see the face and back of the actual fabric, because the size of the loops and the feel against skin vary across qualities. A looped interior also has to work with the seam finish and pocket bag. Inspect it where the seam allowances overlap near the waistband and crotch. A pleasant hand feel on a single layer tells you less about comfort at a seam with several layers.
Brushed fleece offers a soft raised interior and can suit a cooler-weather range. Review the face appearance, the bulk of seams and the feel of the inside after laundering. Thick fleece can make a waistband or ankle seam feel stiff if several components meet at the same point. Ask for a sewn waistband and cuff mock-up if the chosen fabric is heavier than the material used for the first fit sample. Check that the interior appearance remains acceptable after the proposed wash.
A stretch woven can support a cleaner or more structured look for commuter and travel joggers. Confirm the directions in which the fabric stretches and check how it behaves after the wearer sits. Pay particular attention to areas where a pocket, reinforcement or seam restricts the movement of the surrounding fabric. The complete garment may feel less flexible than a swatch pulled by hand. A fit block developed in a stretch knit may need revision before it works in a woven.
For each option, compare finished fabric weight, stretch, recovery, opacity and drape under the same viewing conditions. Measure and describe the finished fabric rather than relying on marketing terms. A heavier fabric may feel more substantial yet offer less movement, and a lighter fabric can hold a crisp shape if its construction is firm. Review light colors separately, especially where the pocket bag or seam allowances can show through. A dark development sample may hide an issue that becomes clear in cream or pale gray.
Ask whether different colors will come from the same fabric quality and finishing route. If a heather color uses a different yarn or the black version receives a different finish, request a representative sample in each materially different quality. The finished measurements and visual approval should reflect the material that will actually go into the order.
| Fabric | Typical use | Sample check |
|---|---|---|
| French terry | Everyday wear and coordinated sets | Examine loops, seam bulk and drape. |
| Brushed fleece | Cooler-weather casual ranges | Check cuff and waistband bulk after care. |
| Stretch woven | Travel and commuter ranges | Check seated movement and pocket restriction. |
Specify the rise, inseam and waistband
Define front and back rise separately. State whether each measurement includes the waistband and how the tape follows the seam. The back rise affects coverage when sitting, while the front rise influences where the garment rests and how the crotch looks from the front. An increase at the back can help coverage without requiring the same change at the front. Check the result with the wearer moving through the positions that matter for the product.
Record inseam and outseam using consistent start and end points. Specify whether the cuff is included and how a curved seam should be measured. A cuffed jogger can look shorter when the band holds above the shoe, even if its measured inseam resembles that of an open-hem trouser. For a range with short and tall lengths, check where the knee point falls in each length. A length adjustment made entirely at the lower leg can move the taper relative to the wearer’s actual knee.
Measure the waistband both relaxed and at a clearly defined extension. An open measurement with no agreed method can vary substantially depending on who pulls the garment. Discuss the elastic width and recovery with the supplier, and check whether the band turns inside its casing after wear or laundering. Where a fixed stitch line holds the elastic in place, inspect how the waistband feels and stretches across several sizes. A customer may be able to put the garment on easily and still find the band too firm after sitting.
Choose the drawcord position with the customer in mind. An internal cord can keep the front clean. An external cord can be easier to locate and can contribute to the design. Check cord length when the waistband is open and when it is adjusted to fit. Review the ends and the opening reinforcement on the actual shell material. If different markets or product types impose trim requirements, document those requirements separately in the buyer’s specification.
When fit changes, update all related measurements and diagrams together. For example, moving the waistband higher may change the effective inseam appearance and pocket reach. Keep the sample comments with the matching version of the measurement table so the pattern team can see which change the buyer approved.
Use the apparel tech pack guide to record measurement methods and tolerances.
Make cuffs and pockets work in motion
A cuffed hem should pass over the wearer’s foot and settle at the intended point above the shoe. Check both the opening at rest and the effort needed to stretch it over the heel. Then test the garment after several normal movements. If the cuff stays high on the calf after a step or squat, check the shape of the lower leg as well as the rib. An opening with excellent stretch can still ride up if the body fabric narrows too sharply above it.
Compare rib cuffs, elasticated shell cuffs and open hems on the same leg block if the team is undecided. A rib cuff can visibly define the ankle and feels different depending on its width, stretch and attachment. An elasticated shell cuff may keep the materials visually consistent while creating gathers. An open hem can provide a different line over the shoe and may suit a wider leg. A drawcord hem introduces a trim and adjustment point that need to be checked while walking.
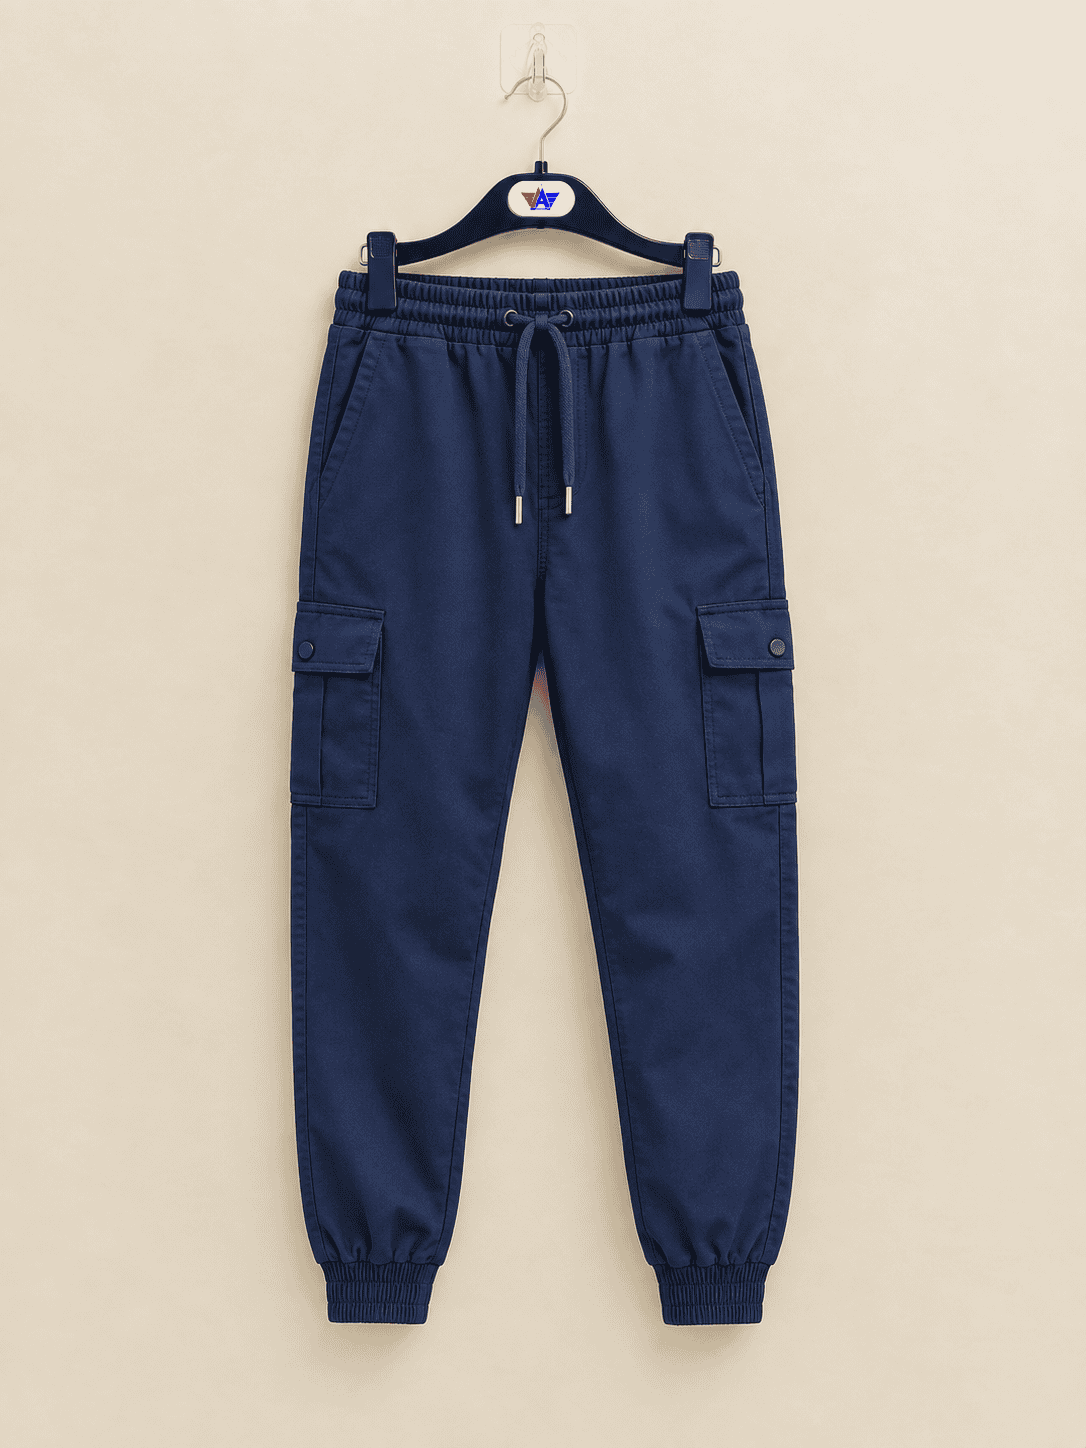
Pocket placement affects comfort when the garment is seated or worn with a bag. Review the clear opening and usable depth with the phone or other item the brief specifies. Ask the wearer to remove and replace it while seated. If the pocket bag moves or pulls on the leg, inspect where it attaches and how it is shaped. A deep pocket can keep the object low enough to swing, and a tight entry can make an otherwise generous pocket difficult to use.
For zip pockets, examine the opening with the pocket closed and open. Look for waviness and test puller access without holding the surrounding fabric in place. On light joggers, hold the garment in normal daylight and check how the pocket bag appears against the leg. If the design has a rear patch pocket, sit on a flat surface with a representative object inside and confirm the placement still suits the intended use.
Include these observations in the quality brief. Specify which pockets must hold a given item, which openings need reinforcement and how the cuff will be checked. If a requirement matters to repeat purchases, translate it into a measurement or a sample comparison the production team can repeat.
Grade the size range and build a size chart
Start with finished garment measurements for the approved base size. A shopper-facing chart can show the body measurements your brand intends to fit, the finished garment measurements or both. Label each table clearly. A relaxed waistband measured on a flat garment is different from the wearer’s body waist. If the chart shows a flat half-waist, state how the shopper should compare it with an existing pair. Using the same word for each measurement can lead a customer to choose the wrong size.
Agree which measurements increase between sizes and how the changes work together. A larger waist may require more room through the seat and thigh, while a cuff opening should still hold at the intended position. Apply the grade rules to both the front and back pattern pieces and check where the knee point falls on the graded leg. If the styles use a common waist size across different inseams, confirm whether the pocket and taper positions change by length.
Review representative sizes near the ends of the range. A factory may be able to follow the measurements while the proportion of a fixed pocket or cord opening shifts on the garment. Photograph each fit from the same position. Compare the pocket with the hand and test it with the same intended object. Confirm that the drawcord can be adjusted and the cuff clears the foot in each test size. Record any special size rules before the production specification is frozen.
Set tolerances by measurement point with the supplier and discuss what is practically measurable on the finished garment. A waistband at rest can be sensitive to how it was handled before measurement, while an inseam depends on the start and end landmarks. Include annotated photos for any point that different inspectors could read differently. For mirrored details, agree a paired visual check as well as individual tolerances. Two cuffs can each be within tolerance and still look visibly mismatched next to one another.
Share an approved chart with the supplier and the team preparing the product listing. If the buyer changes how a point is measured, update the photos, size chart and inspection file together. A customer return note about a short leg is easier to interpret when the retail chart and factory use a consistent reference.
| Point | Method to document | Why it matters |
|---|---|---|
| Relaxed waist | Measure flat without tension. | Tracks the waist before extension. |
| Extended waist | Use the agreed extension method. | Checks entry and fit across sizes. |
| Front and back rise | Mark seam path and waistband inclusion. | Controls waist position and seated coverage. |
| Inseam | Mark crotch and hem endpoints. | Makes length comparisons reproducible. |
| Cuff opening | Record relaxed and extended openings. | Checks heel clearance and ankle fit. |
Build a sample and wash approval plan
Define what each sample is expected to settle. A first prototype might establish the silhouette, rise and taper. An updated fit sample should show whether the documented pattern changes worked. A representative size set checks grading, while the pre-production sample confirms the intended material, construction and trim. If the first sample uses substitute fabric, record which decisions can be made from it and which depend on the production quality. This reduces the chance of approving a fit that changes with the final cloth.
Before washing, measure the garment at the agreed points, photograph the pocket and cuff areas and record how the garment feels on the fit model. Use the care method agreed for the intended label and compare the garment after it has dried and rested under the agreed conditions. Repeat the same measurements and photographs. If the sample changes in both width and length, examine the effect on taper and the way the leg sits above the shoe. A garment that measures shorter may still look longer if the cuff has lost recovery and sits lower.
Check the appearance of seams, color and trim along with dimensions. A pocket zipper can ripple, a waistband can twist and a side seam can rotate even if the finished waist and inseam meet the target measurements. Compare the color and hand feel with the unwashed reference under consistent light. For matching sets, wash the two garments according to the proposed care instructions and compare them together. A slight difference that goes unnoticed on individual garments can be obvious when the items are worn as a set.
For pilling, colorfastness or other formal requirements, agree the test method and acceptance criteria with the buyer and supplier. Note which colors and fabric qualities require testing. An internal wear trial can reveal practical issues, such as a phone slipping out or fabric catching around the heel. A formal lab test serves a different purpose and should use the method specified for the order. Keep both kinds of evidence with the sample comments where both influence approval.
Close sample comments with a decision. Mark each point approved, revised or awaiting evidence. Attach the revised measurement chart, annotated images and material references to the approval record. Give the supplier a single current version to build against before the bulk order begins.
See the garment sampling guide and the garment shrinkage test guide for related approval steps.
Compare bulk quotes on the same specification
A jogger quote depends on more than fabric weight and order quantity. Fabric width and cutting efficiency, the number of pattern pieces, trim, washing, labeling and packing can affect the total. Compare two quotes against the same revision of the spec. Ask both suppliers to list the fabric construction, composition, finish, shell color, pocketing, elastic, cord, zippers and decoration. If one quote includes a detail that the other treats as optional, settle the difference before comparing unit price.
Share a color and size breakdown rather than a single total. A single large order may be split into several small color quantities, which can affect fabric and trim availability. A supplier may offer a standard material for the core colors while a special shade requires a separate commitment. Ask which minimum applies at each stage. The answer may depend on the fabric lot, dye color or trim supplier. Record which inputs would stay available for a repeat order and which require a fresh approval.
Compare the available levers before simplifying the garment. Using one zipper across multiple colors might help when the puller is visually acceptable on each. A common waistband elastic can simplify replenishment if it meets the intended stretch and recovery across the range. Removing a pocket or changing a cuff can save a sewing step, but the buyer should check whether that feature matters to the main use case. A small unit saving can leave a style with less reason to exist in the assortment.
Ask for separate identification of sampling, testing, packaging and freight terms when those affect the comparison. Decide whether the finished goods will use individual bags, store-ready packing or another arrangement, and specify the folding method if it matters to presentation. A bulky cuff or heavy fleece may need a different fold from a lightweight stretch woven. Approve the packed sample before production packing begins so labels, barcodes and size information are visible in the intended position.
When requesting an updated quotation, note the exact changes to the style and ask for the corresponding material and construction revisions. Keep the approved quote tied to the same sample and tech pack. This helps the buyer identify whether a later price or lead-time change comes from the spec, materials or order quantities.
Read the custom joggers sourcing guide for an overview of construction and bulk order preparation.
Use a pilot order to check the assortment
For a new range, a pilot order can show whether shoppers understand the fit description and whether the production spec is practical. Decide in advance what the pilot should answer. A retailer may want to compare regular and relaxed fits in the same fabric. A direct-to-consumer brand may want to learn whether two inseam lengths reduce exchanges. Keep the comparison focused. If fit, color, pocketing and price all change between the two styles, it will be difficult to tell why one performs better.
Set the size distribution from the best available evidence, such as a comparable style or existing customer requests. Treat it as an estimate and record the assumptions. If the initial range has limited stock in one size, sales alone can understate demand because that size can sell out before the comparison ends. Track stock availability alongside sales and exchanges. Record what customers say about the garment and the size chart rather than treating every return as a fit issue.
Take product photos that show the silhouette from the front, side and back. Include a seated or moving view if the intended use depends on mobility. Show where the hem sits with typical shoes and record the model’s size and relevant measurements. If the listing offers both cuffed and open-hem versions, name them clearly and show the differences. The product listing gives the customer a way to judge whether the garment fits their needs before ordering.
For the next order, compare pilot garments with the final specification and separate planned revisions from production variation. If a longer inseam is justified, check how the added length affects the knee point and taper before releasing the update. If shoppers say the waistband feels tight despite choosing the correct size, inspect the elastic and the measurement method. If a phone falls out, check the clear opening, depth and seated position before deciding to add a zipper. Each revision should answer a problem the buyer can observe and verify on the next sample.
Use a simple decision record for the repeat order. List the issue, the evidence, the proposed change and the sample that demonstrates it. Keep the original and revised measurements together with the retailer’s size information. This makes it possible to explain changes to the product team and gives the factory a clear reference when the same style is ordered in another color or fabric.
See the small quantity manufacturing guide for pilot order planning.
Plan production inspection and replenishment
Use the approved sample to establish appearance and workmanship before bulk cutting. Compare the production fabric and trim against the approved references, including the elastic, pocketing and cord. Check shade across components intended to match, such as a body fabric and knit cuff. If the style uses matching top and bottom garments, agree which lots may be paired and how shade differences will be managed. A matching garment set can make a component-level variation more noticeable.
During production, check operations that are difficult to correct after assembly. Inspect pocket openings and reinforcement while they are accessible. Check whether the waistband is attached evenly and whether the cord exits align. Compare left and right legs, cuffs and pockets on a garment from the line. Record deviations against the actual measurement point or reference photo. The earlier a repeat issue is identified, the easier it is to correct the remaining pieces.
For final inspection, give the inspector the current chart, packing instructions and approved sample. Agree which sizes and colors will be measured under the buyer’s inspection plan. Inspect visible stitch lines, seam puckering, loose threads, label position and overall garment balance. Test closures and drawcord operation. When a pocket has a functional requirement, use the intended object or an agreed equivalent. A pocket measurement alone may miss an obstruction near the opening.
After delivery, track returns and customer comments by style, size, length and color where possible. Several comments about cuff tightness in a single size may point to a grading decision. A complaint about the same issue in every size may point to the cuff construction or fabric choice. Compare those signals with returned garments and the approved sample before changing the pattern. Retain production references for replenishment so the supplier can compare the next lot on the same basis.
For an enquiry, send your intended use, target fit, size range, color breakdown, fabric preference and the features that need functional testing. Add photos of the reference sample with its size and care history. The supplier can then identify which parts of the brief are ready for a quote and which need a sample first.
Share the brief through the M&A Composite contact page.
Frequently asked questions
What is the difference between slim and regular joggers for men?
Slim joggers typically have a narrower leg and less room through the thigh or calf. Compare the finished measurements and check how the leg moves with the cuff in its intended position.
Which fabric is suitable for everyday men’s joggers?
French terry can suit everyday joggers, brushed fleece can suit cooler conditions and stretch woven can suit a more structured fit. Compare drape, recovery and comfort in a finished sample.
How do you measure the inseam on cuffed joggers?
Measure from the crotch seam intersection to the agreed point at the hem along the inside leg. State whether the cuff is included and show the endpoints in the tech pack.
What should buyers approve before bulk production?
Approve the fit, representative sizes, production materials, waistband and cuff behavior, pocket function, wash results and packing instructions.
Can one jogger pattern work in knit and woven fabrics?
A shared starting pattern can help with development. Fit each fabric in a finished sample because differences in stretch, recovery and drape may require changes to the block.